PubNative supports integration with DFP as a Third Party ad source. If you’ve integrated the Google Mobile Ads SDK already, you don’t need to write any extra code! Instead, you can place a Third Party ad tag and target it to your existing inventory. Pubnative ad tag has built in support for failing over to the next ad source.
Login to your DFP account
- Go to the Delivery tab in your DFP account and click on the Order you want to use.
If you do not have a DFP order yet created, proceed to section A in Appendix.
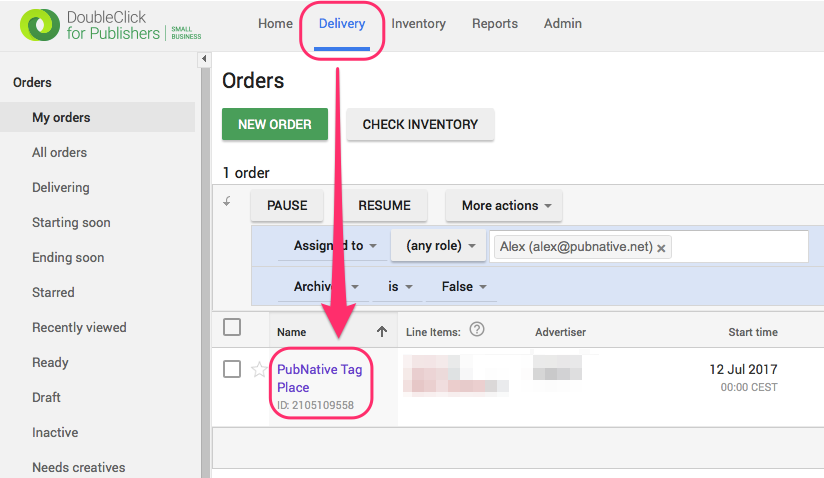
- Once inside the order, go to the line item you are using for the integration:
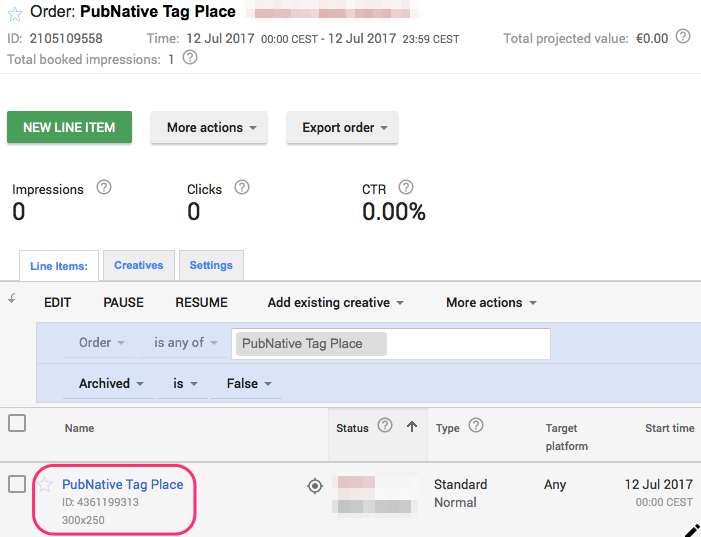
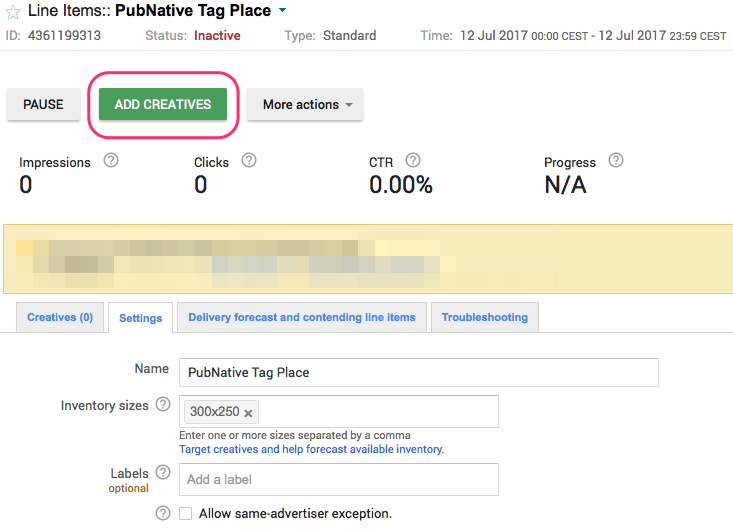
- Double check that the size of the line item is the same as the size of the requested ad tag. In the next window inside of your line item, click on Add creatives.
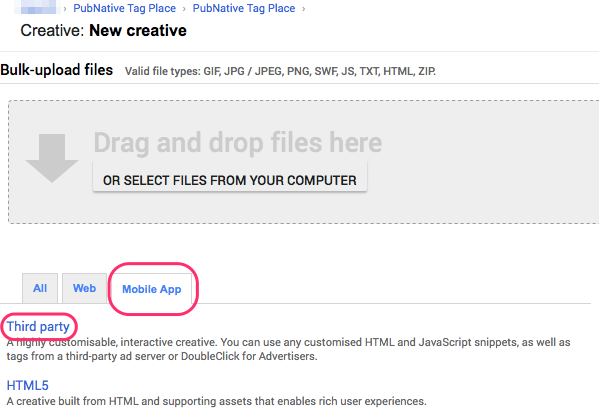
- The next window will show you the available type of creative that DFP support, click on the Mobile App tab if your integration is in app and then select Third party.
- DFP will take you to the new creative page. Give a name to the creative and paste PubNative ad tag code:
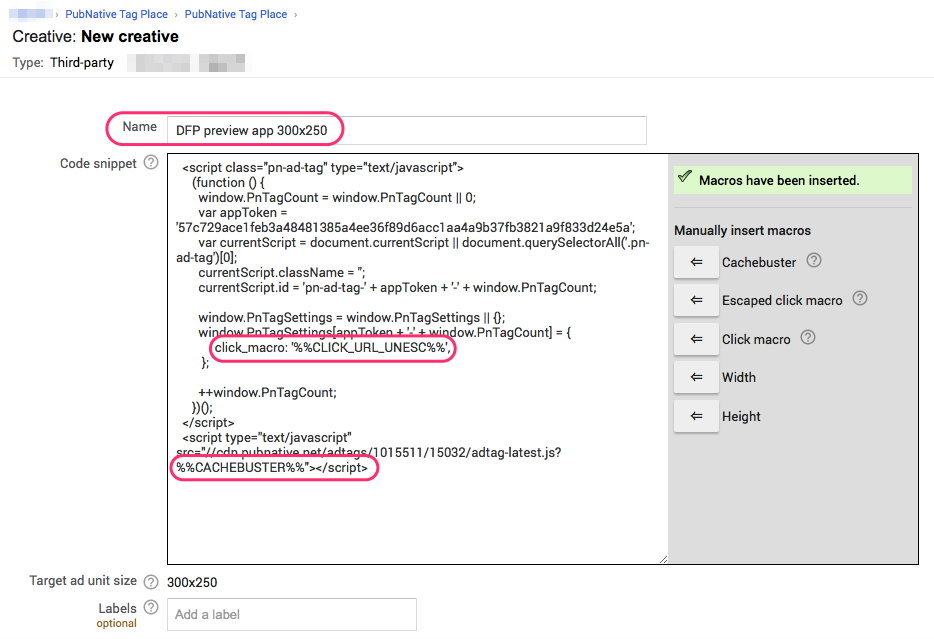
DFP will ask you to add the click macro, use the placement we already enabled for it, keep in mind that all macros have to be placed between the quotes. We recommend to use as well cachebuster macro and impression macro in order to avoid discrepancies. (Impression macro still needs to be tested)
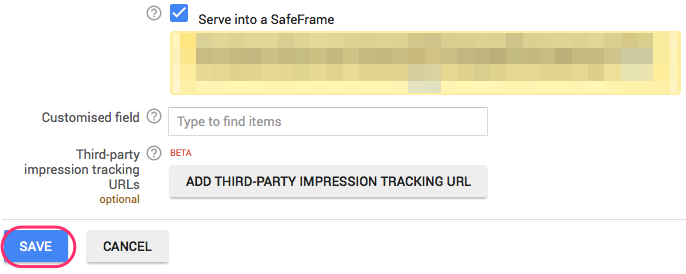
Once the code and macros are placed click on save:
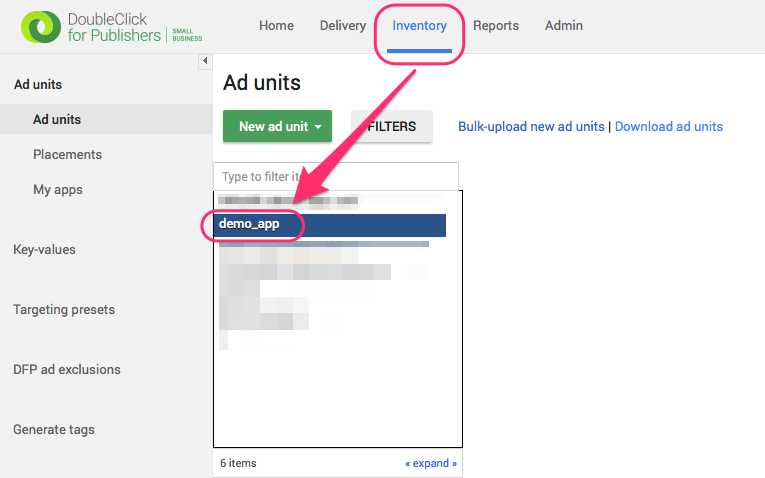
- Now the creative is saved. Go to Inventory on the top menu and write down the ad unit that will serve your order. If you have to create a new ad unit proceed to section B in Appendix.
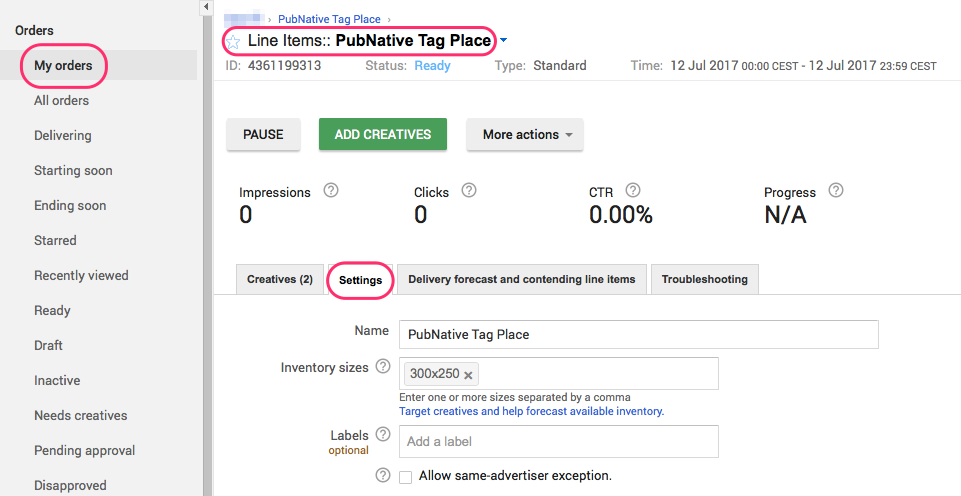
- Go back to your order, then the line item that contains the ad tag creative and go to setting:
At the bottom of settings go to Add targeting, click on Ad Units, find the ad unit that will serve your order and click on include.
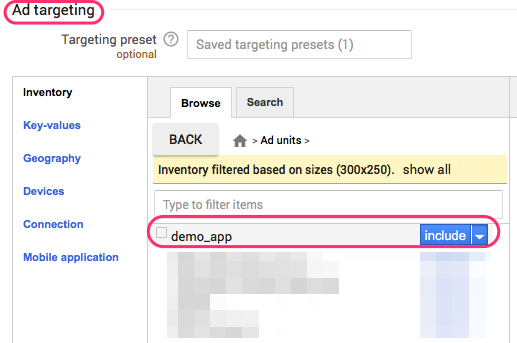
After including the ad unit is important to save the changes, the save button is at the bottom of the page.
8. IMPORTANT! Avoid this step if you already have a tag integrated that includes an order with the ad tag.
The last step in this integration is the generation of the tag that will be implemented in your web app or native app.
Go to Inventory and then click on Generate tags (left menu), afterwards include the ad unit that targets your order and include it. Once included click on Generate tags:
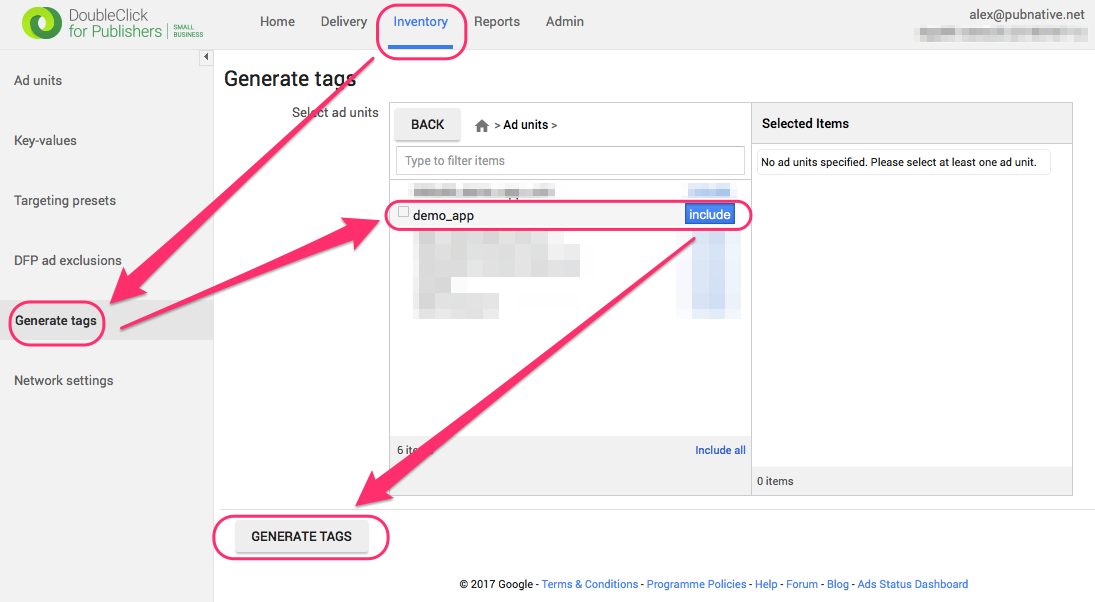
The next screen is the last one in the DFP process. Select Mobile applications if your integration is in app, click on Continue.
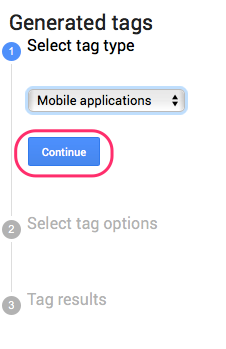
For in-app tags there are no extra options, click on Continue again and you will finally see you tag with it’s ID:
For the final integration in you app follow Google’s guidelines from their documentation.
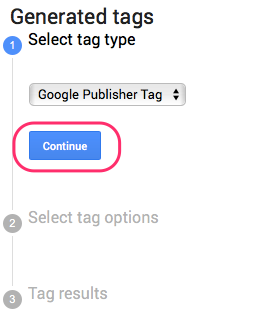
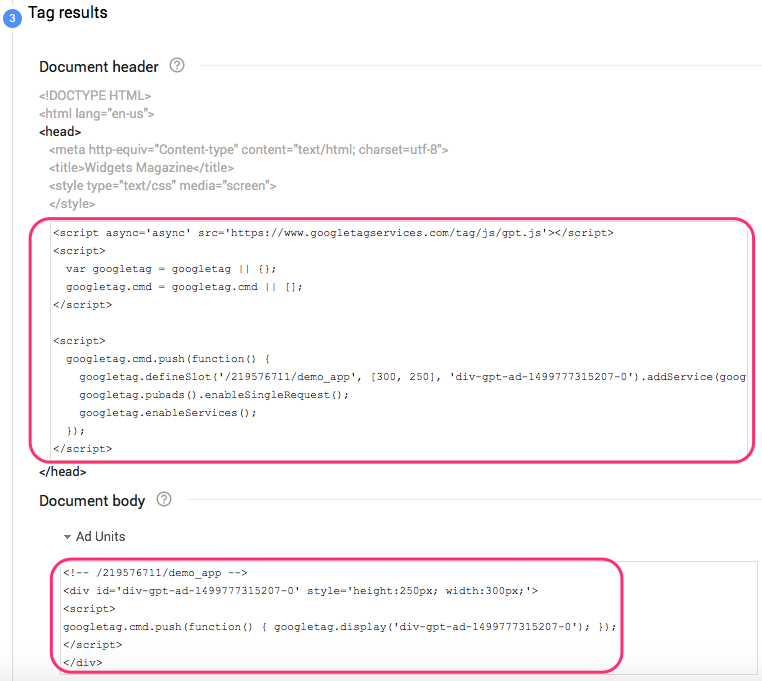
For mobile web integrations select Google Publisher Tag, click on continue and do not change the options, click on continue again and copy the tag head and body part into your web site.
Appendix
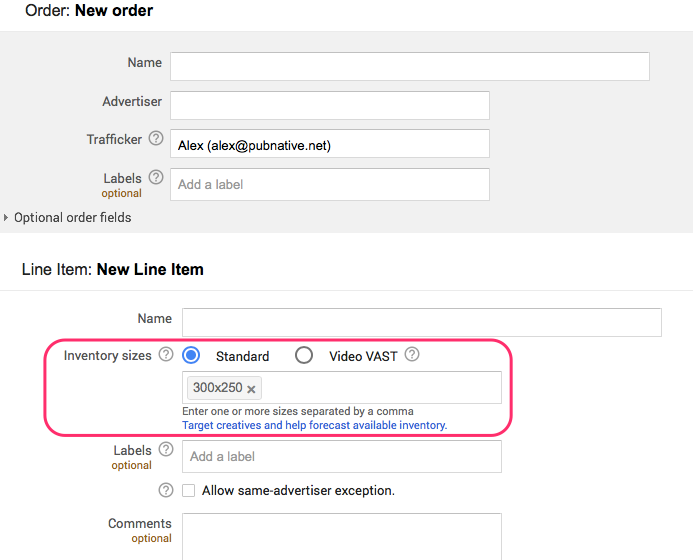
A. In your delivery page, click on New order:

Fill all mandatory fields but pay special attention to Inventory sizes, the inventory size must match with the creative size.
Skip the Add targeting part and save. Now you the order has to be approved:

Once the order is approved go back to step 2.
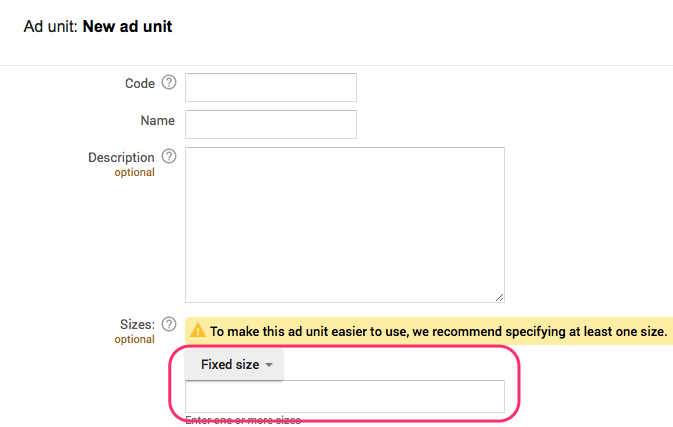
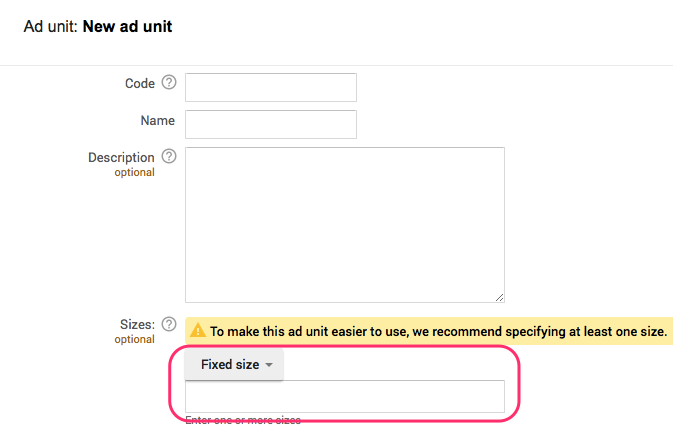
B. In your inventory page click on New ad unit:
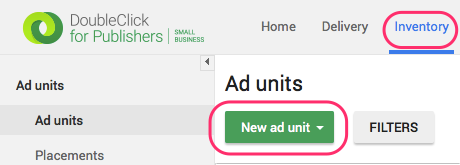
Fill the form and make sure that the size of the ad unit is the same as the size of the creative you want to traffic. Save the new ad unit, the button is at the bottom of the page.
Once the ad unit is created go back to step 6.
