Create app in DFP Dashboard
If you already have created the app you will use in the DFP Dashboard you can skip this section.
Create a new Android app on the DFP Dashboard.
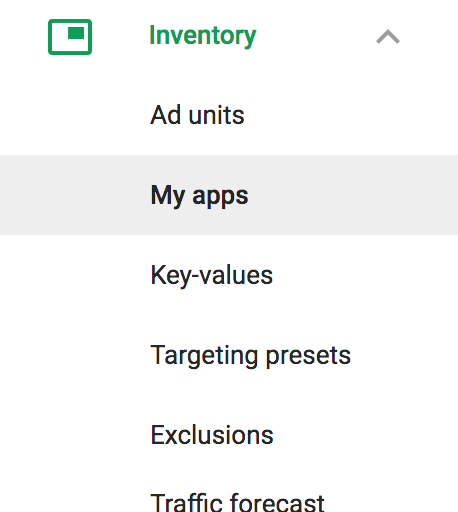
Keep in mind the app needs to be published in the Google Play Store so DFP can find it. Unpublished apps cannot be used.

Create Key-Values
Create the Key - Value pairs that will later be used for targeting the line items according to the eCPM obtained in the pre bid.
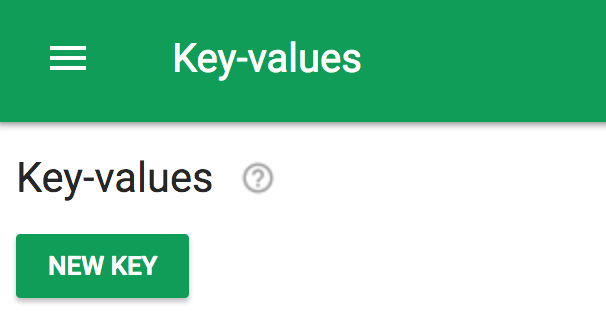
For the Display Name you can use whatever you prefer to identify the item, but it is recommended to use the same name for both fields.
The recommended format for the Key - Value pairs is:
pn_bid:ECPM
Here you can see and example for an eCPM of 0.10 USD:
pn_bid:0.10
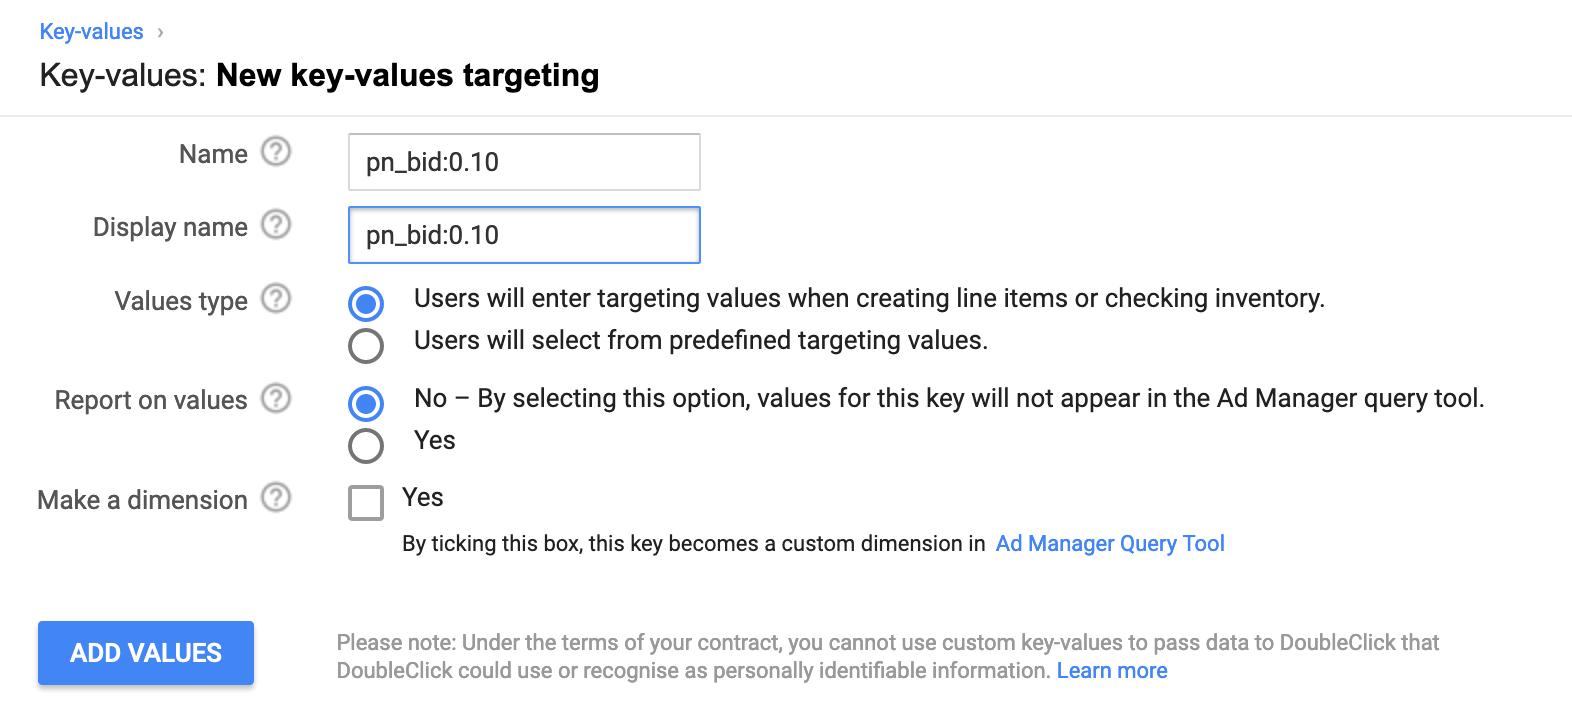
After naming the Key - Value pairs item, you should add the actual values that will be targeted.
We will use keywords to target our line item on the waterfall when competing with other networks on the same eCPM. In order to make this work, it's very important that when you make the request to DFP from your app, you use the keywords generated by the HeaderBiddingUtils class from HyBid.
The keywords are generated with the following format:
pn_bid:X.XX
Basically X.XX being the eCPM received from the bid with up to 2 decimals after the comma.
Samples:
eCPM: 1 USD Keyword: pn_bid:1.00
eCPM: 0.01 USD Keyword: pn_bid:0.01
eCPM: 0.3 USD Keyword: pn_bid:0.30
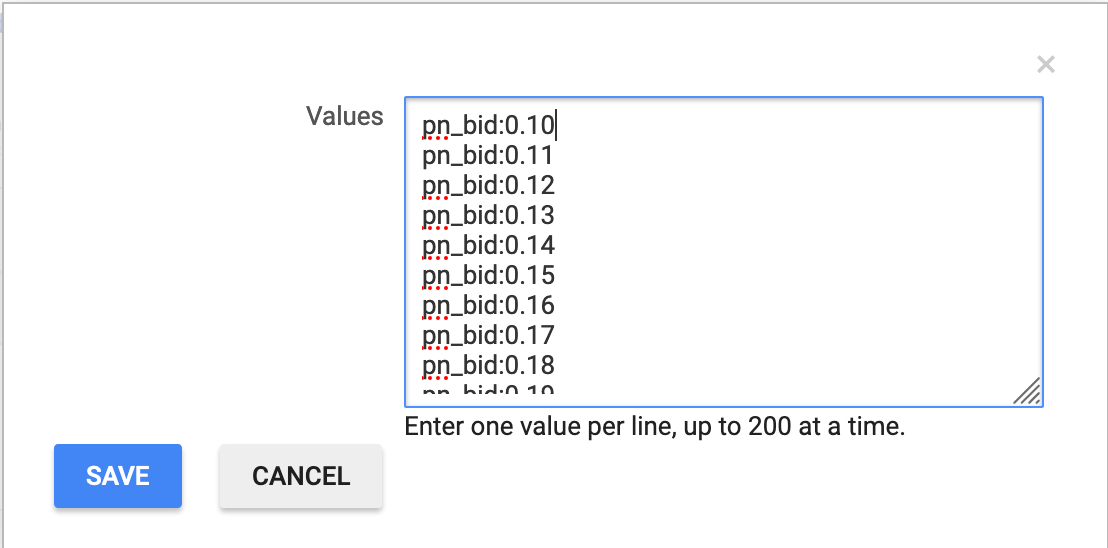
In the ideal situation there should be a Key - Value pair for every posible eCPM in that range but this will end up in thousands of line items, therefore it is better recommended to group the eCPMs in ranges, usually bigger for smaller payouts and smaller for larger payouts. For example:
Key - Value pairs with eCPM 0.10 can include:
pn_bid:0.10
pn_bid:0.11
pn_bid:0.12
pn_bid:0.13
pn_bid:0.14
pn_bid:0.15
pn_bid:0.16
pn_bid:0.17
pn_bid:0.18
pn_bid:0.19
Then the one with 0.20 can do the same up the 0.29
For bigger eCPM items it is recommended to have more granularity in the keywords to improve the matching on the waterfall.
Click on the Add values button and start adding the targeting values.
Create Ad Units
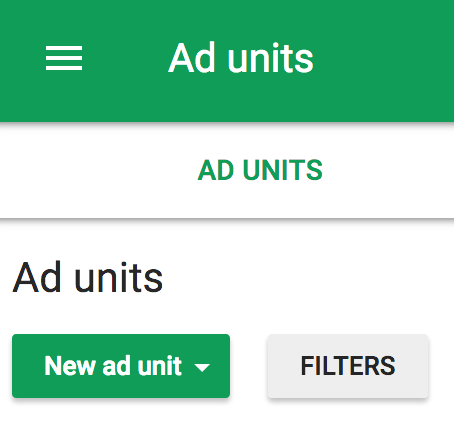
You need to create Ad units that represent the locations in your app that contain ads. In the Ad units section click the New ad unit button.
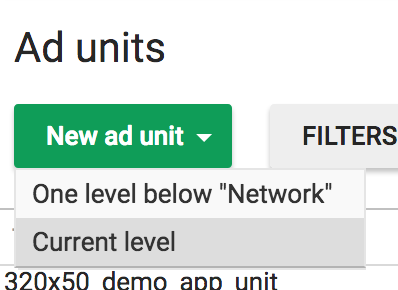
Choose Current level in the dropdown menu that comes from the button. Take into account that this is a sample configuration. You can choose to organise your ad units in any way.
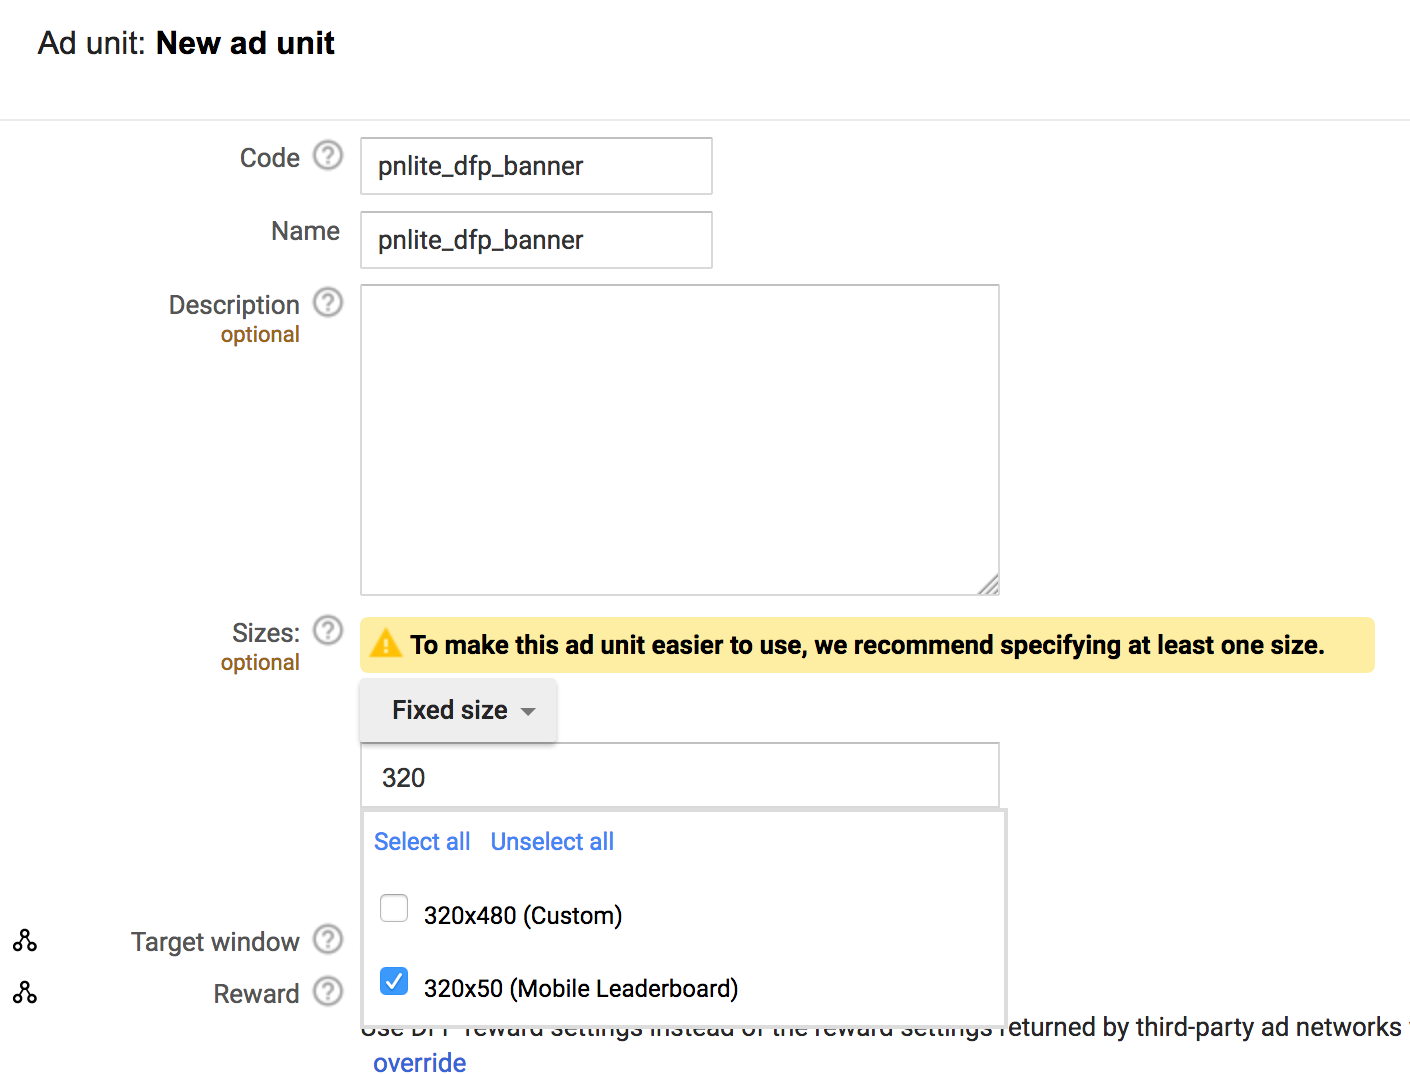
In the code field add the name that will be used to identify the ad unit in your Android code.
On the Sizes section choose Fixed size and check only the exact size of the ad you will be showing. Currently HyBid supports:
- Banner Ads (320x50)
- Medium rectangle (300x250)
- Interstitials (Fullscreen)
Finally save the ad unit.
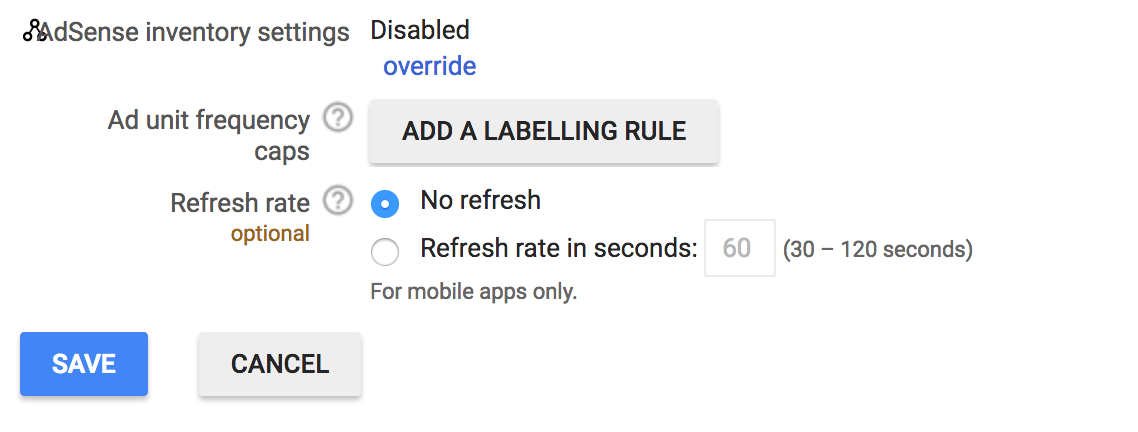
Keep in mind that one ad unit must be created at least per different ad sizes (320x50, 300x250, Fullscreen). These will be used to decide which creative will be served during the ad request.
Create Targeting
The next step is to create the targeting presets that later will be used in the line items to match the proper eCPMs with the creatives and the ad units.
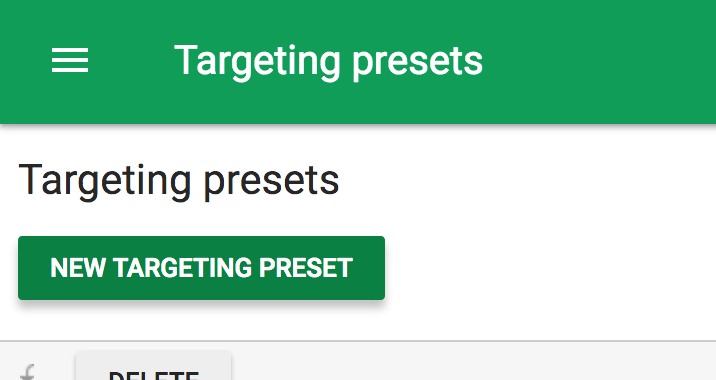
Any name can be used but the recommended format is:
ECPM OS FORMAT APP_NAME
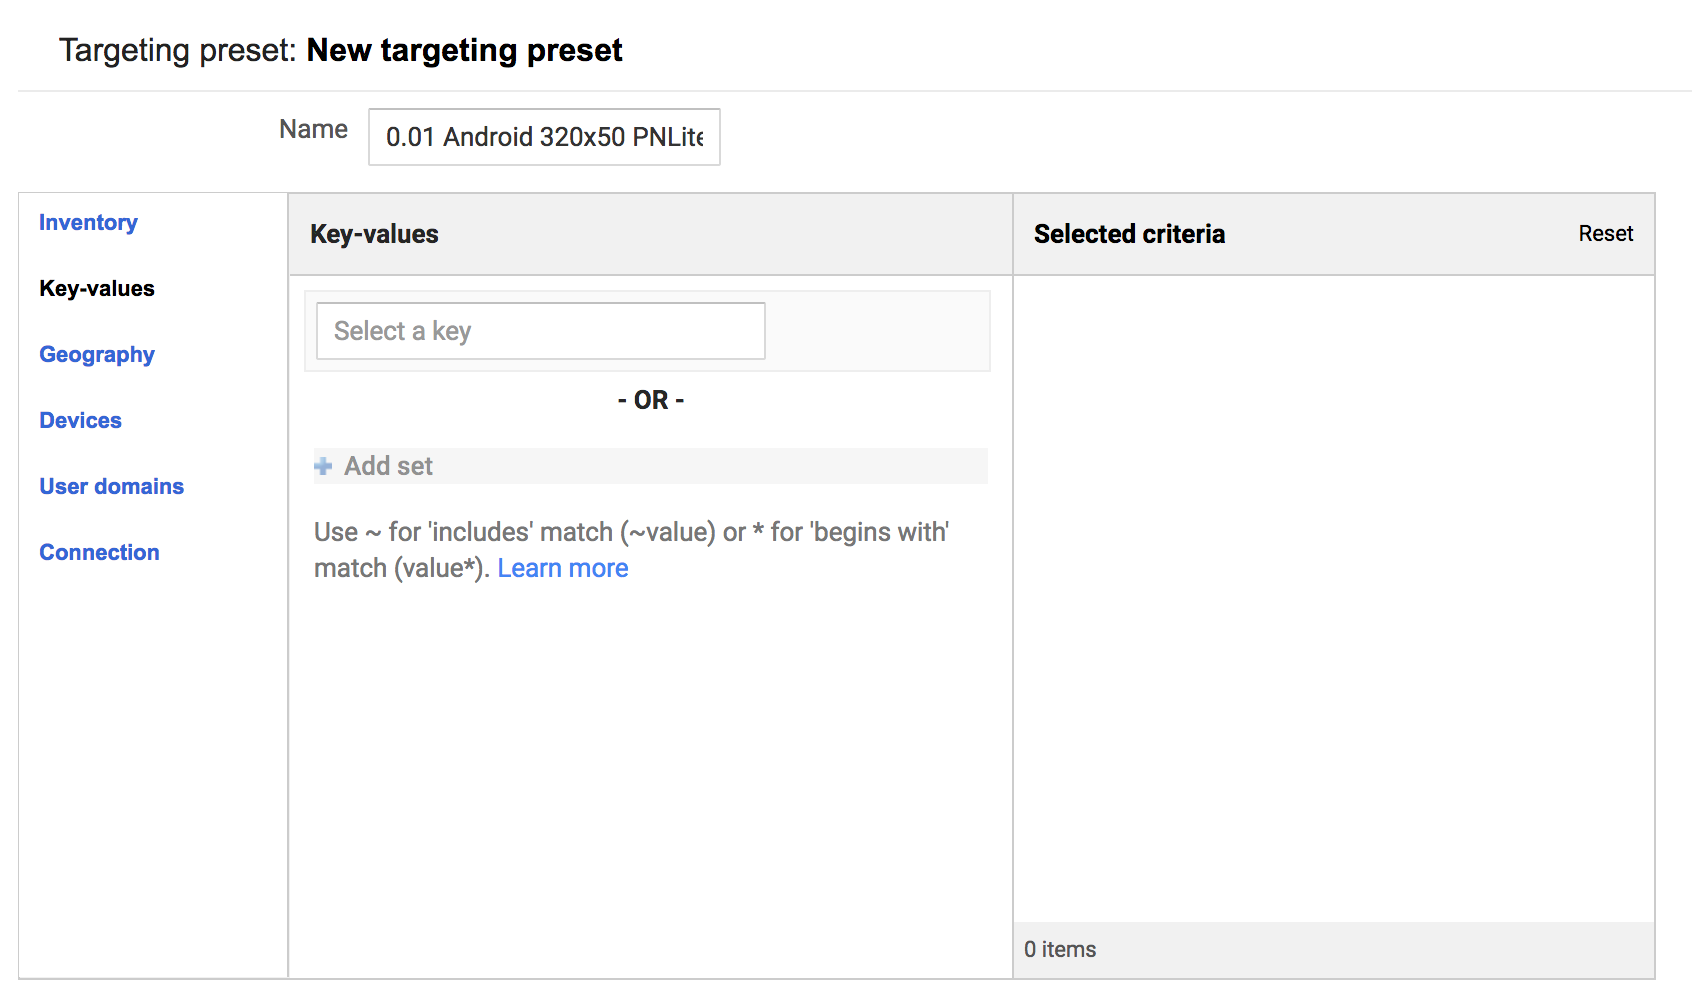
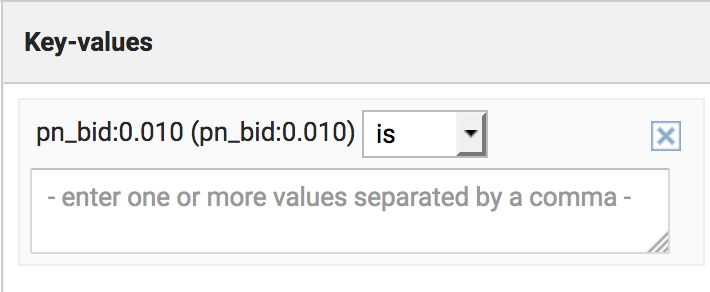
In the Key - Values section start writting the name of the previously created Key - Value pairs and choose the one that corresponds with the Targeting Preset you are creating.
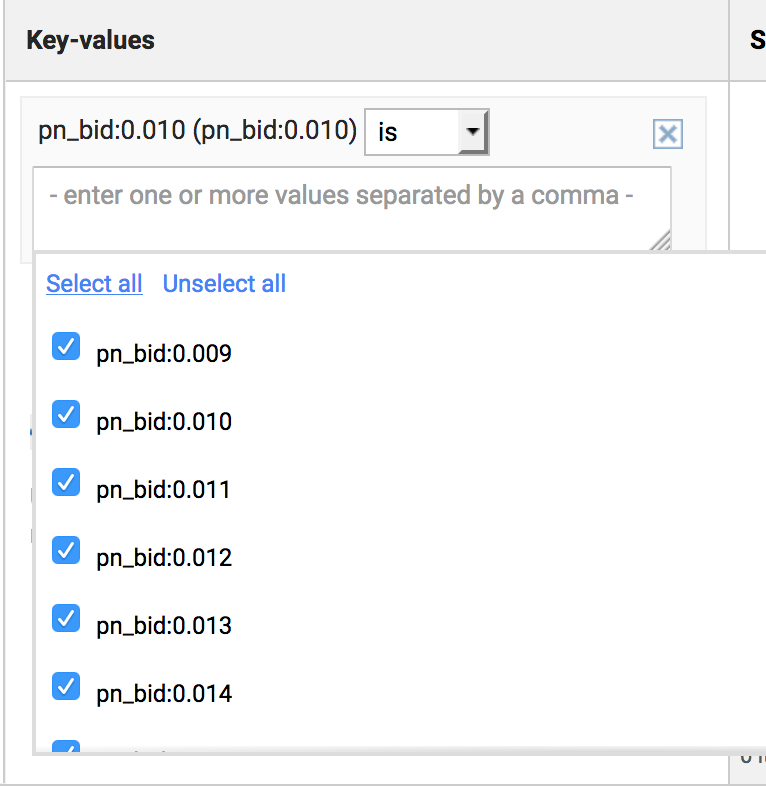
Once added, click in the values field and choose Select all to include all the targeting values in the preset.
Next move to the Inventory section. Here you should choose the Ad units group.
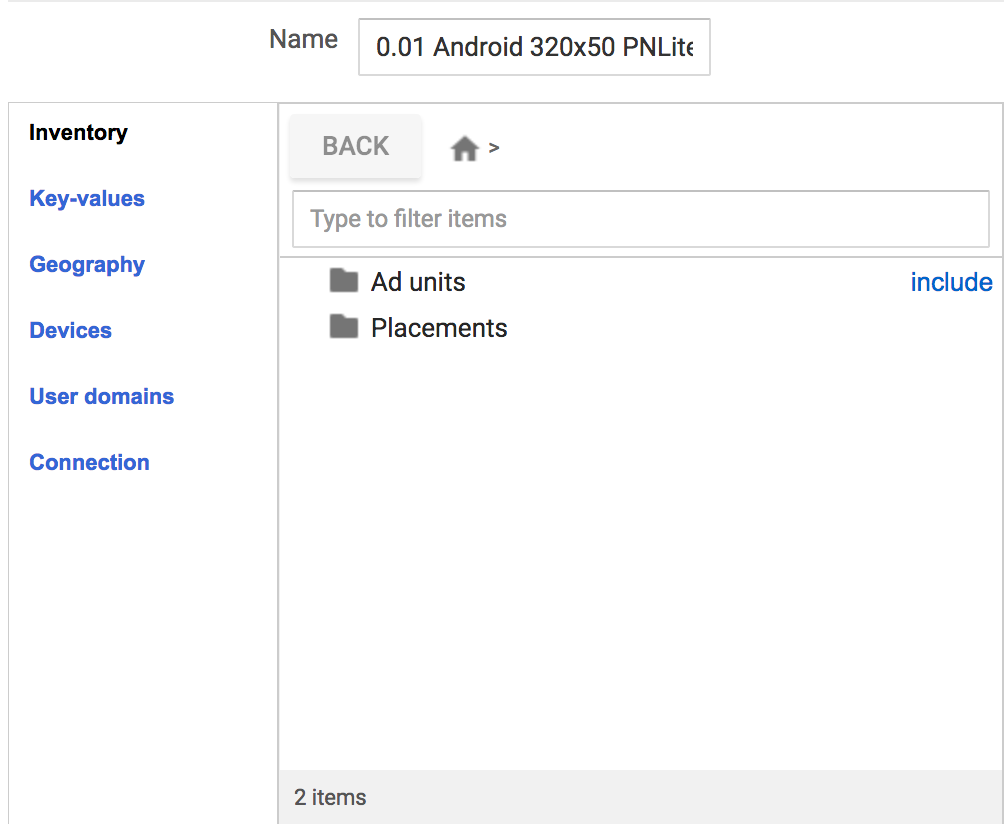
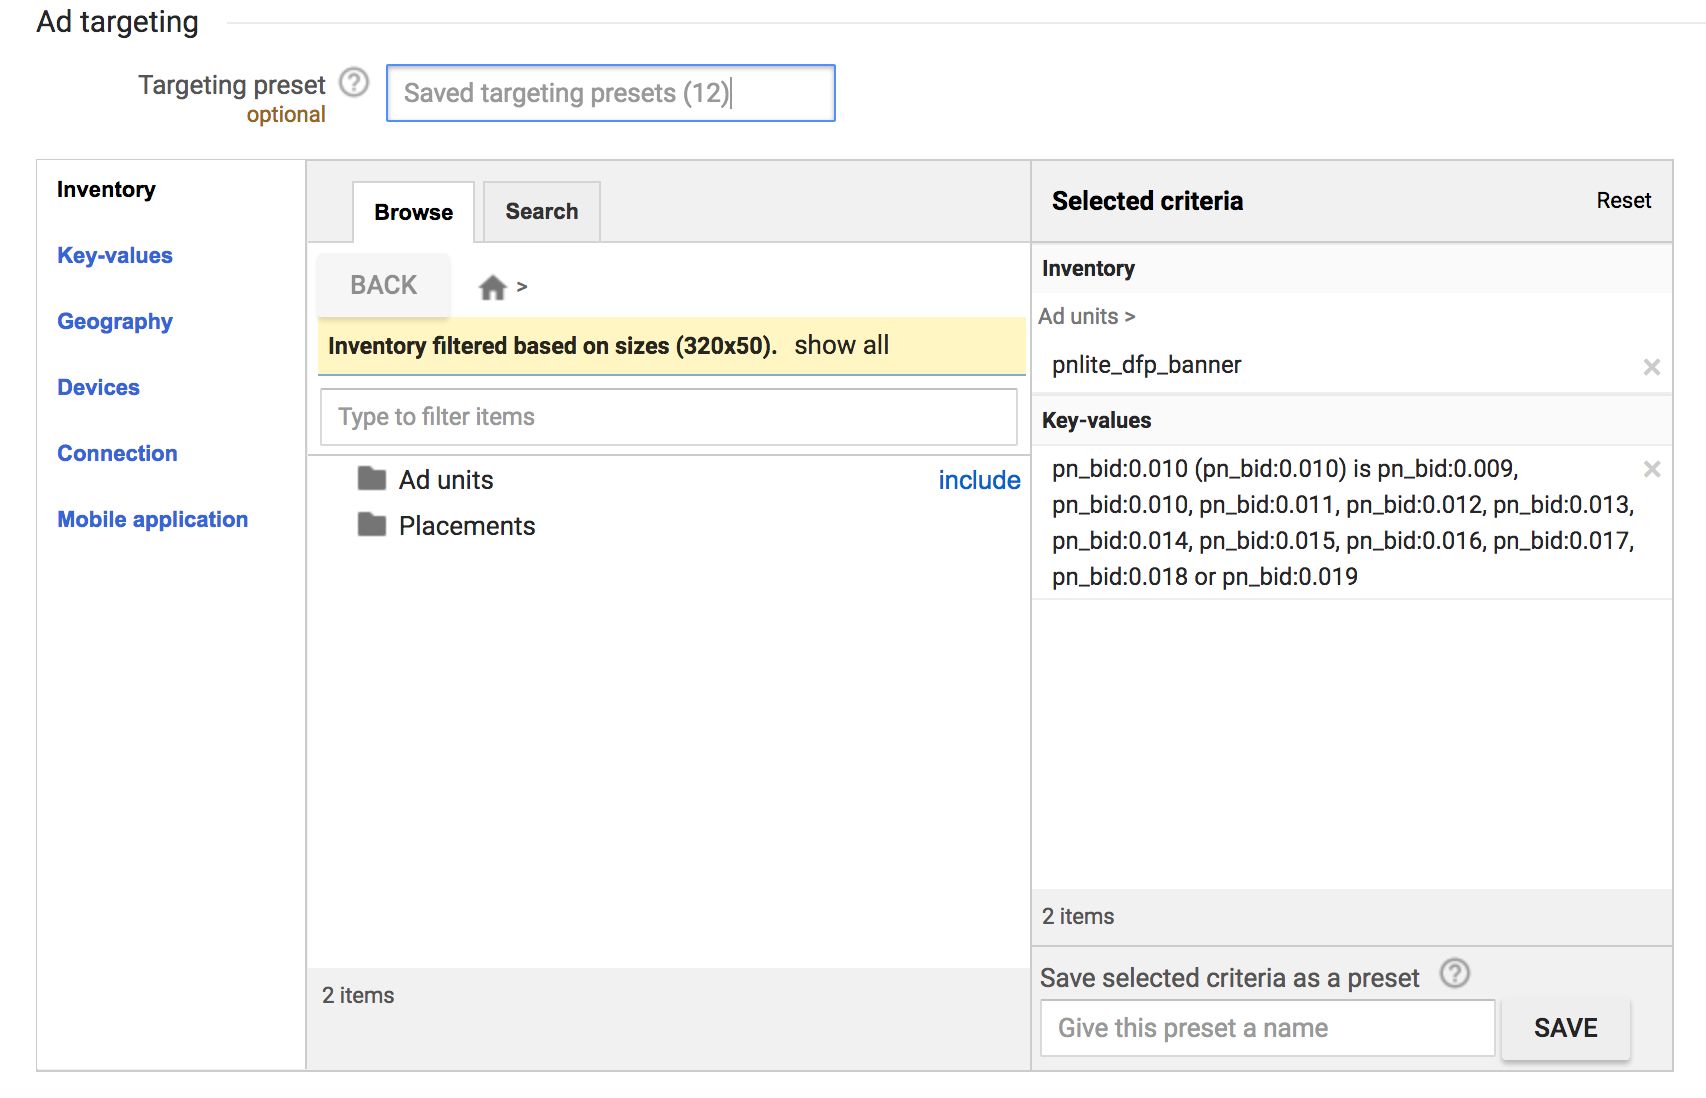
From the ad unit groups include the one that corresponds to the Targeting Preset you are creating. In this sample since the size is 320x50, we will use the pnlite_dfp_banner ad unit.
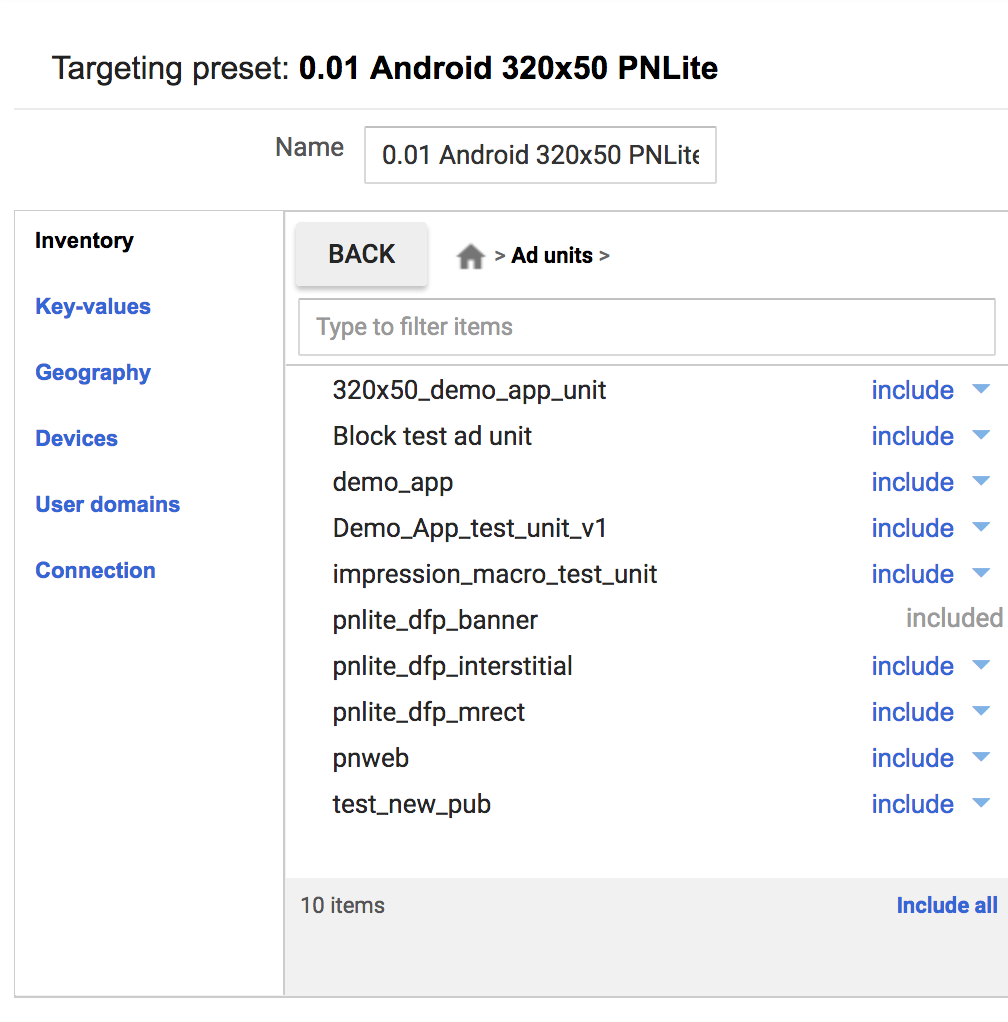
A Targeting Preset must be created for every Ad unit matching every *Key - Value** pairs you want to target from that unit.
Create Ad Creatives (setup Custom Events)
The Creatives will be the items that define which adapter to use in the DFP mediation to serve ads through HyBid. In the Delivery section of the side menu go to the Creatives section.
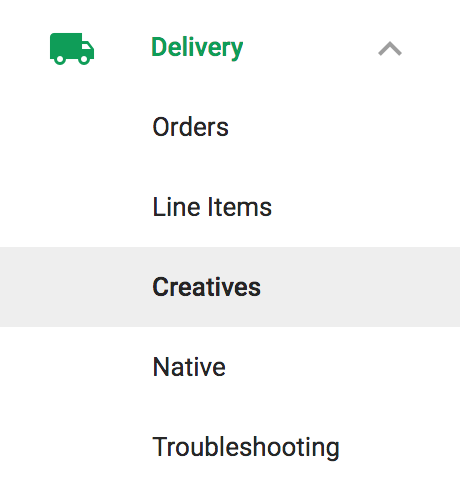
Create a new item. First you must choose the advertiser. It must be from a known network. Choose PubNative from the expanded list.

When choosing the creative type. Go to the Mobile App tab and choose SDK mediation
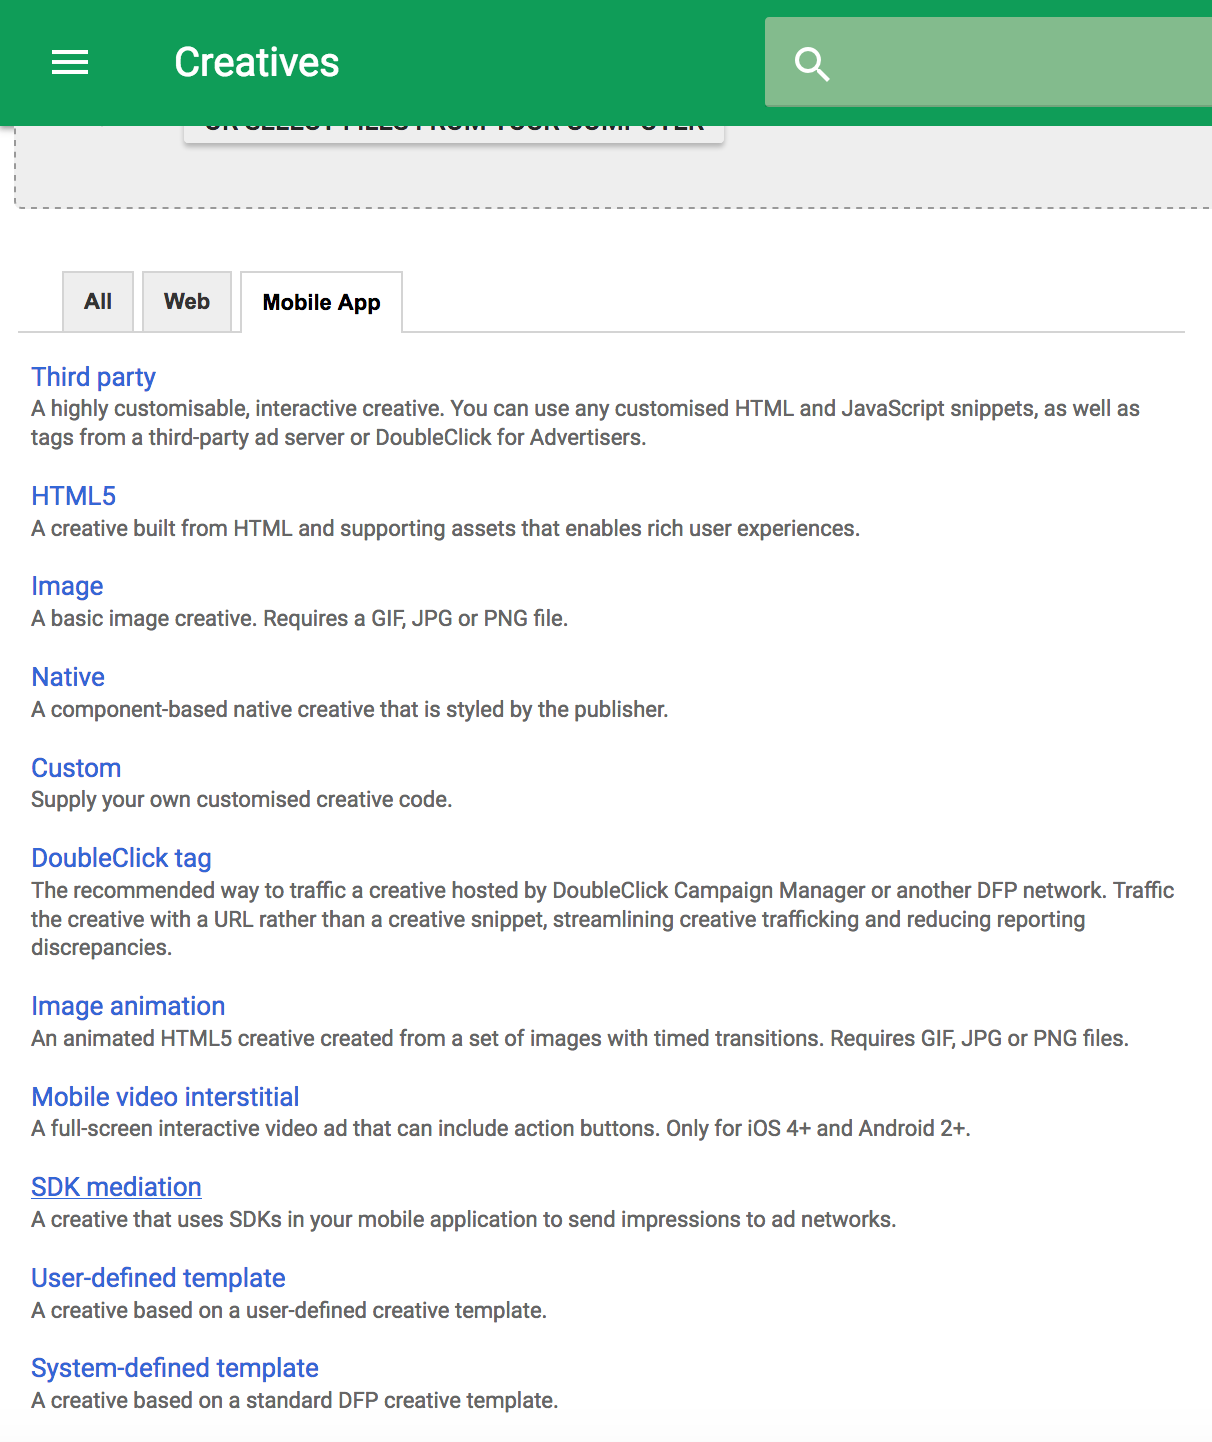
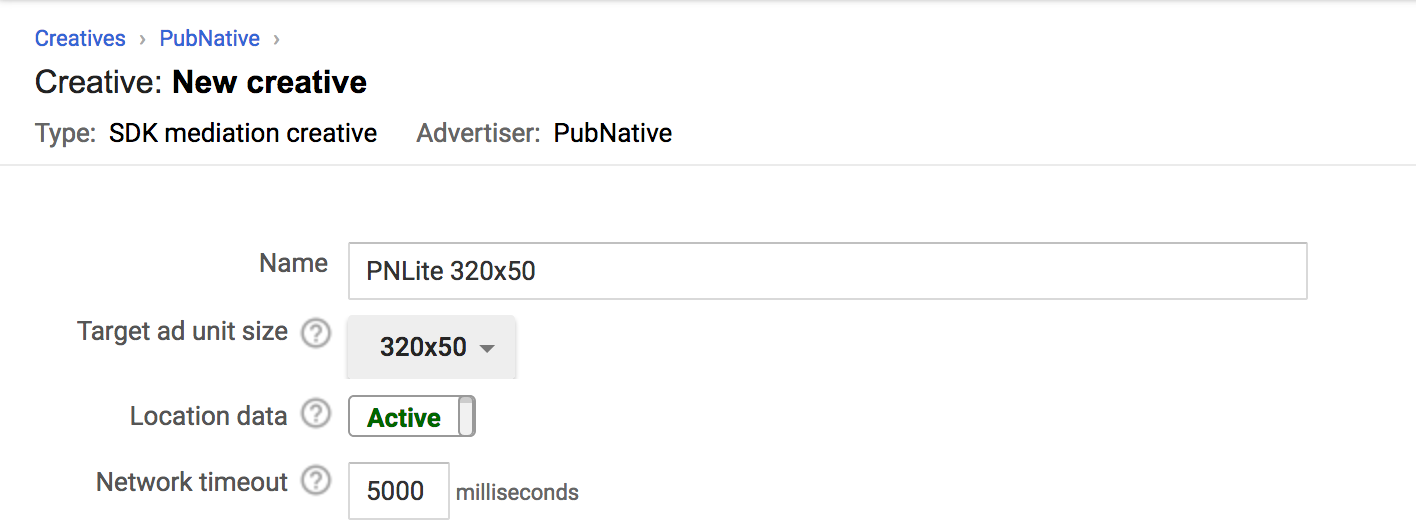
Choose a name for the creative. The recommended format is:
APP_NAME FORMAT
Choose the size of the ad you want to show (320x50, 300x250 or Fullscreen) and activate the location data.
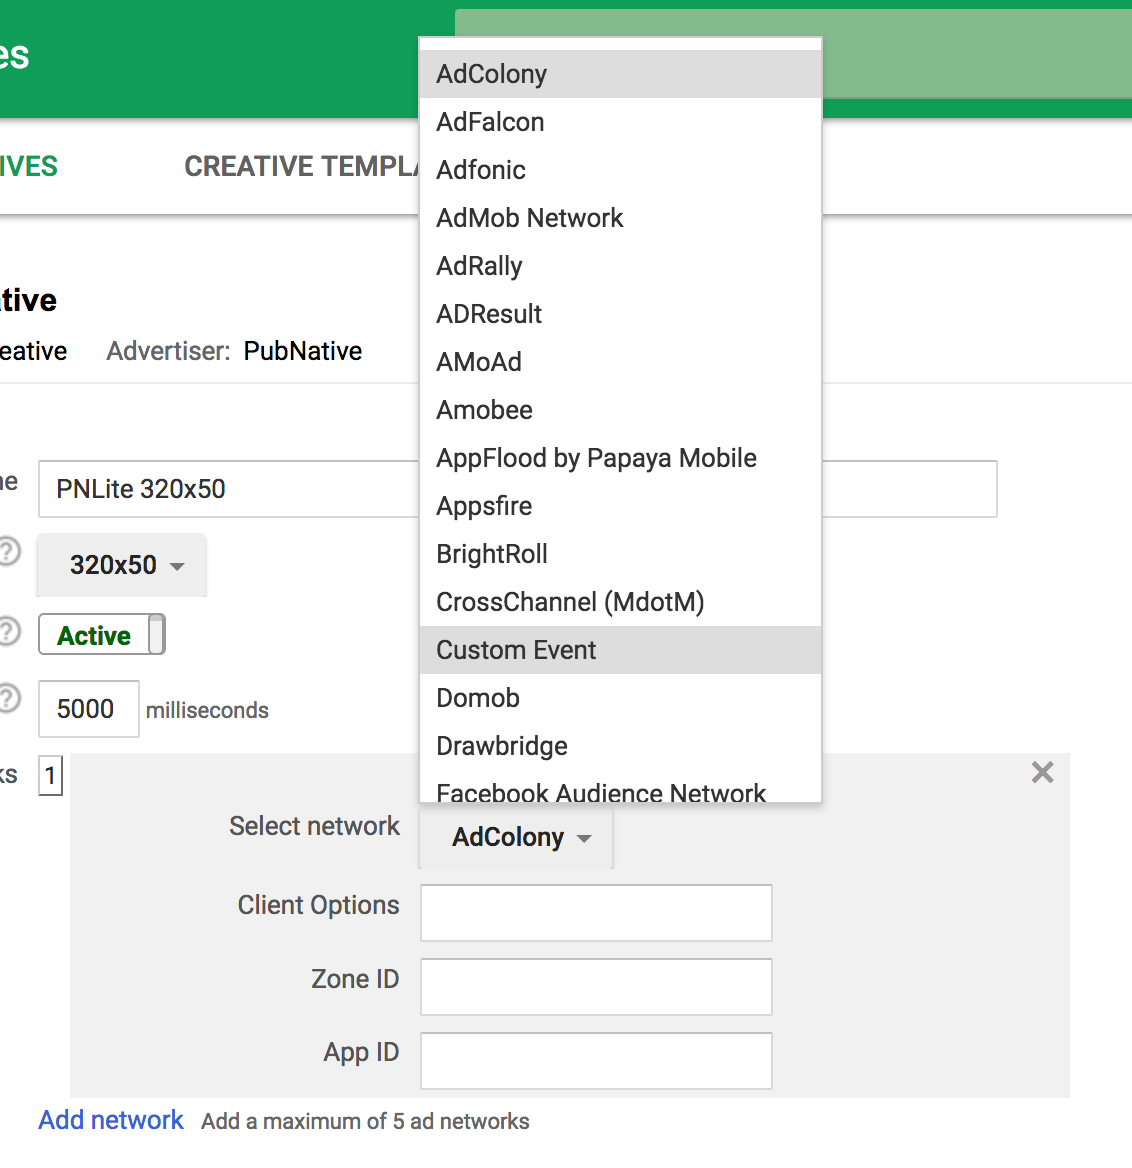
On the Network section, select Custom Event as network.
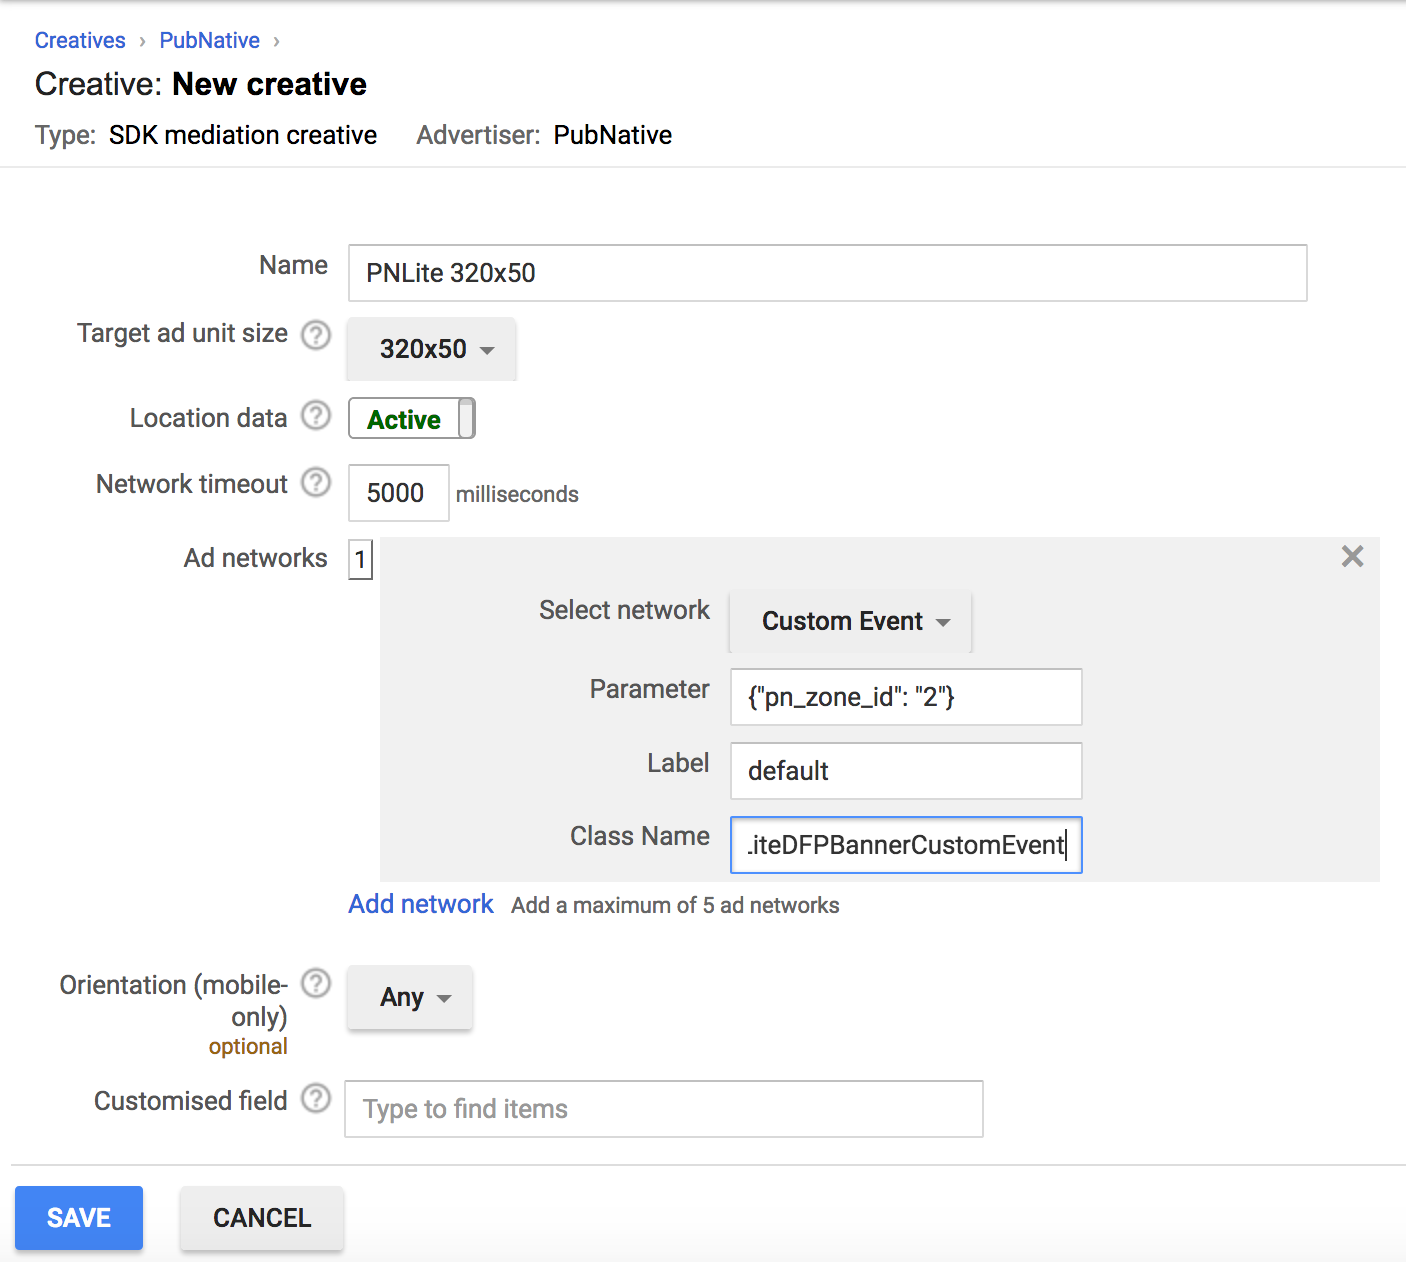
After selection Custom Event, on the Parameter field you need to specify which PubNative Ad Zone ID corresponds to this Creative. This is needed so the adapter knows how to get the ad from the HyBid SDK Ad Cache. Please add the following JSON into the field:
{"pn_zone_id": "AD_ZONE_ID"}
In the Class Name field add the full name of the HyBid Adapter class you will use. There's one for each format. In this sample we'll use the one for 320x50 Banner.
net.pubnative.lite.adapters.dfp.HyBidDFPBannerCustomEvent (320x50 Banner)
net.pubnative.lite.adapters.dfp.HyBidDFPMRectCustomEvent (300x250 Banner)
net.pubnative.lite.adapters.dfp.HyBidDFPInterstitialCustomEvent (Interstitial)
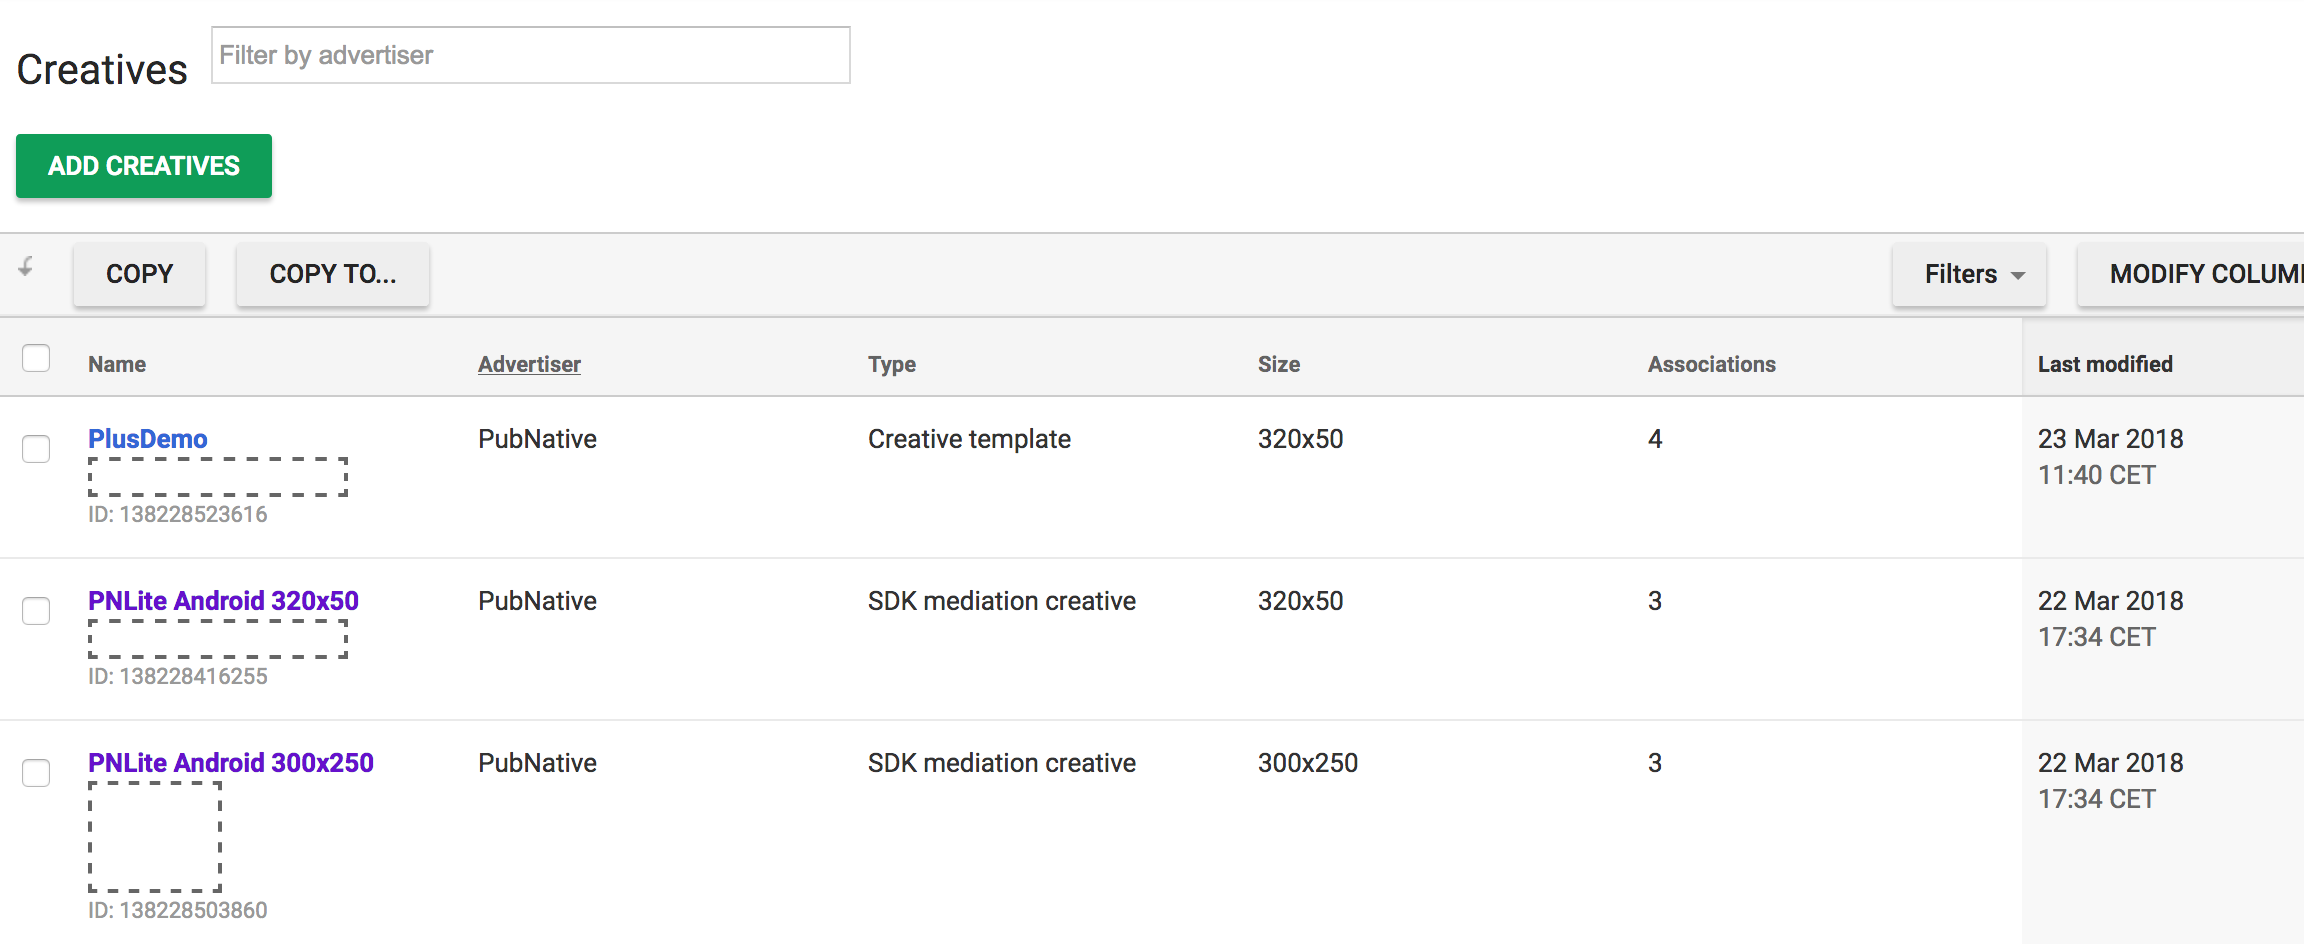
After the steps you should be able to see the creatives on the list
Create Orders and Line Items
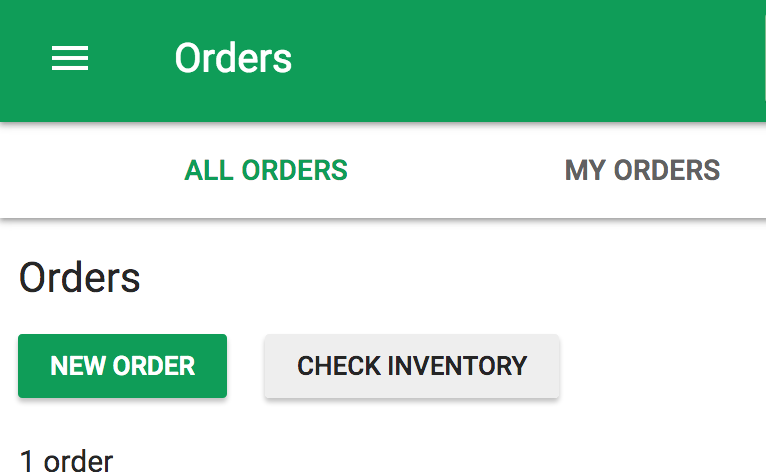
Next head to the Orders section to begin setting up the line items.
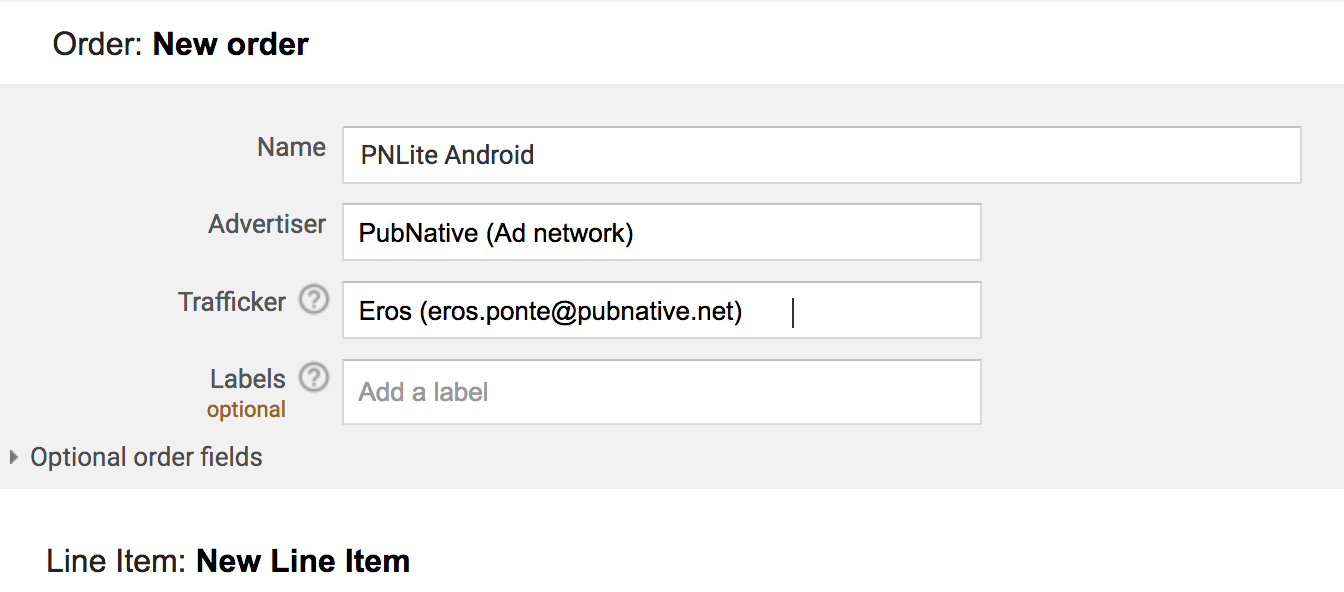
Use any name you prefer for the Order, use PubNative as Advertiser and give the email of the person responsible of the ad config management.
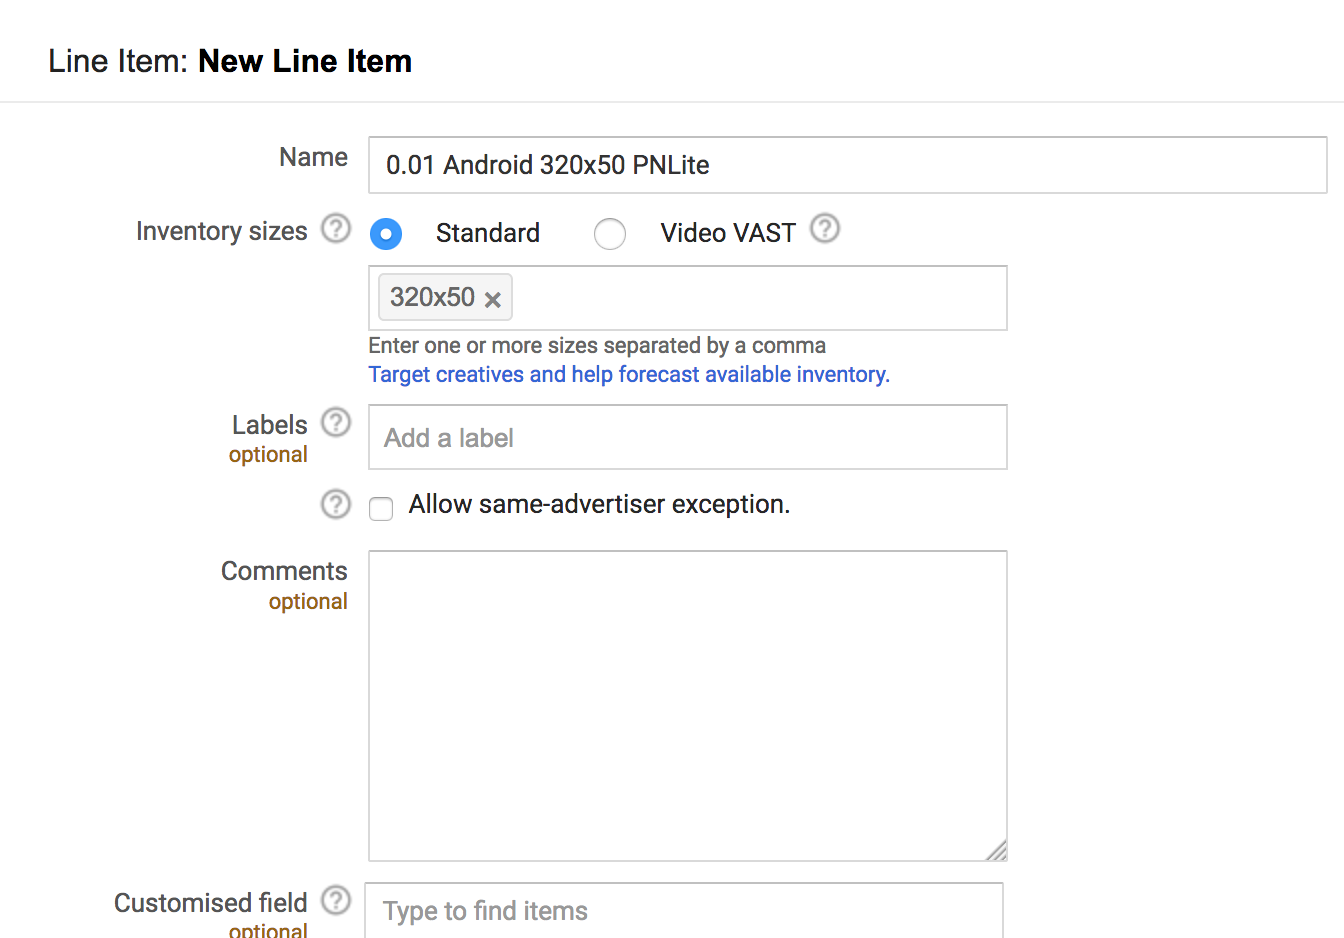
Set up an initial Line Item. There should be one line item per ad size - eCPM pairs. The recommended format for the naming is:
ECPM OS FORMAT APP_NAME
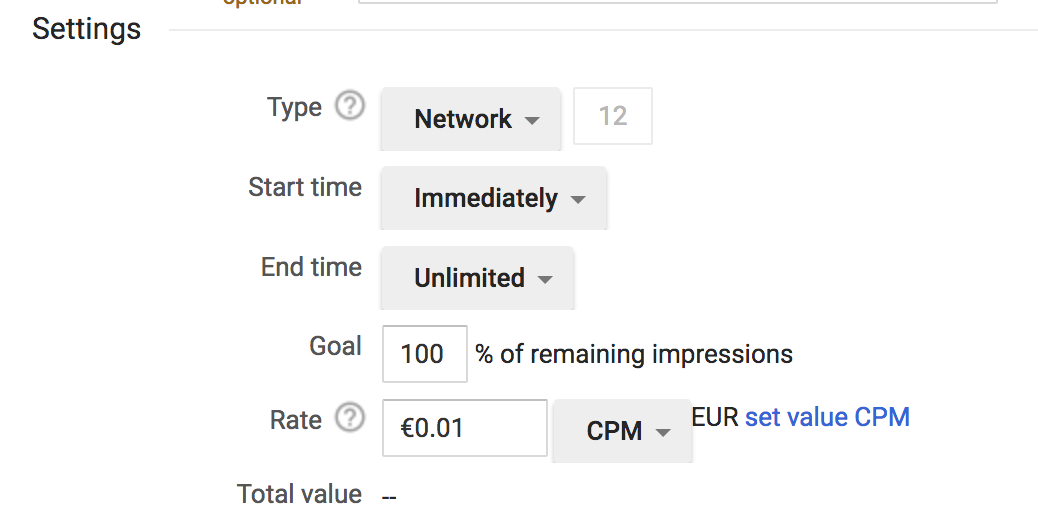
Choose the size of the ad that will be served by this line item. In the sample it's 320x50
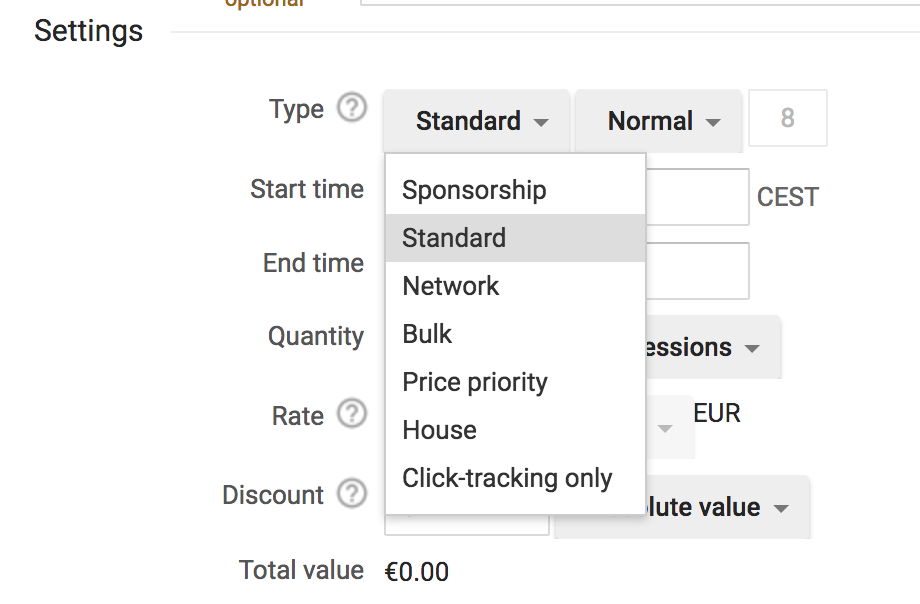
In the Settings section change from Standard to Network.
Set the starting time as Immediately and the end time as Unlimited.
Set the eCPM of the line item. It must match the values that will be used in for targeting later.
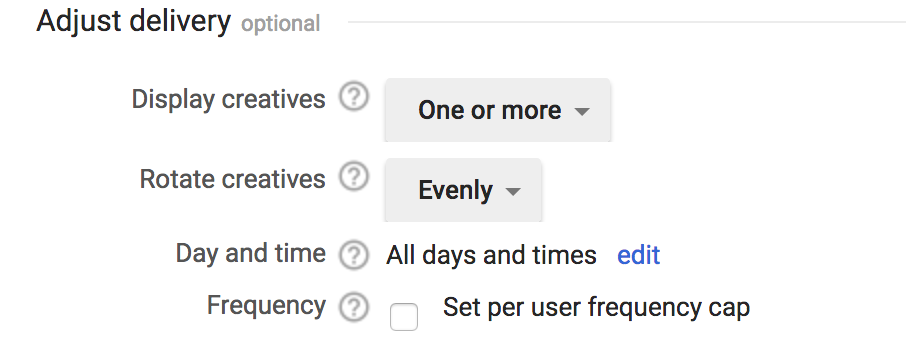
In the Adjust delivery section choose Evenly as a value in Rotate creatives
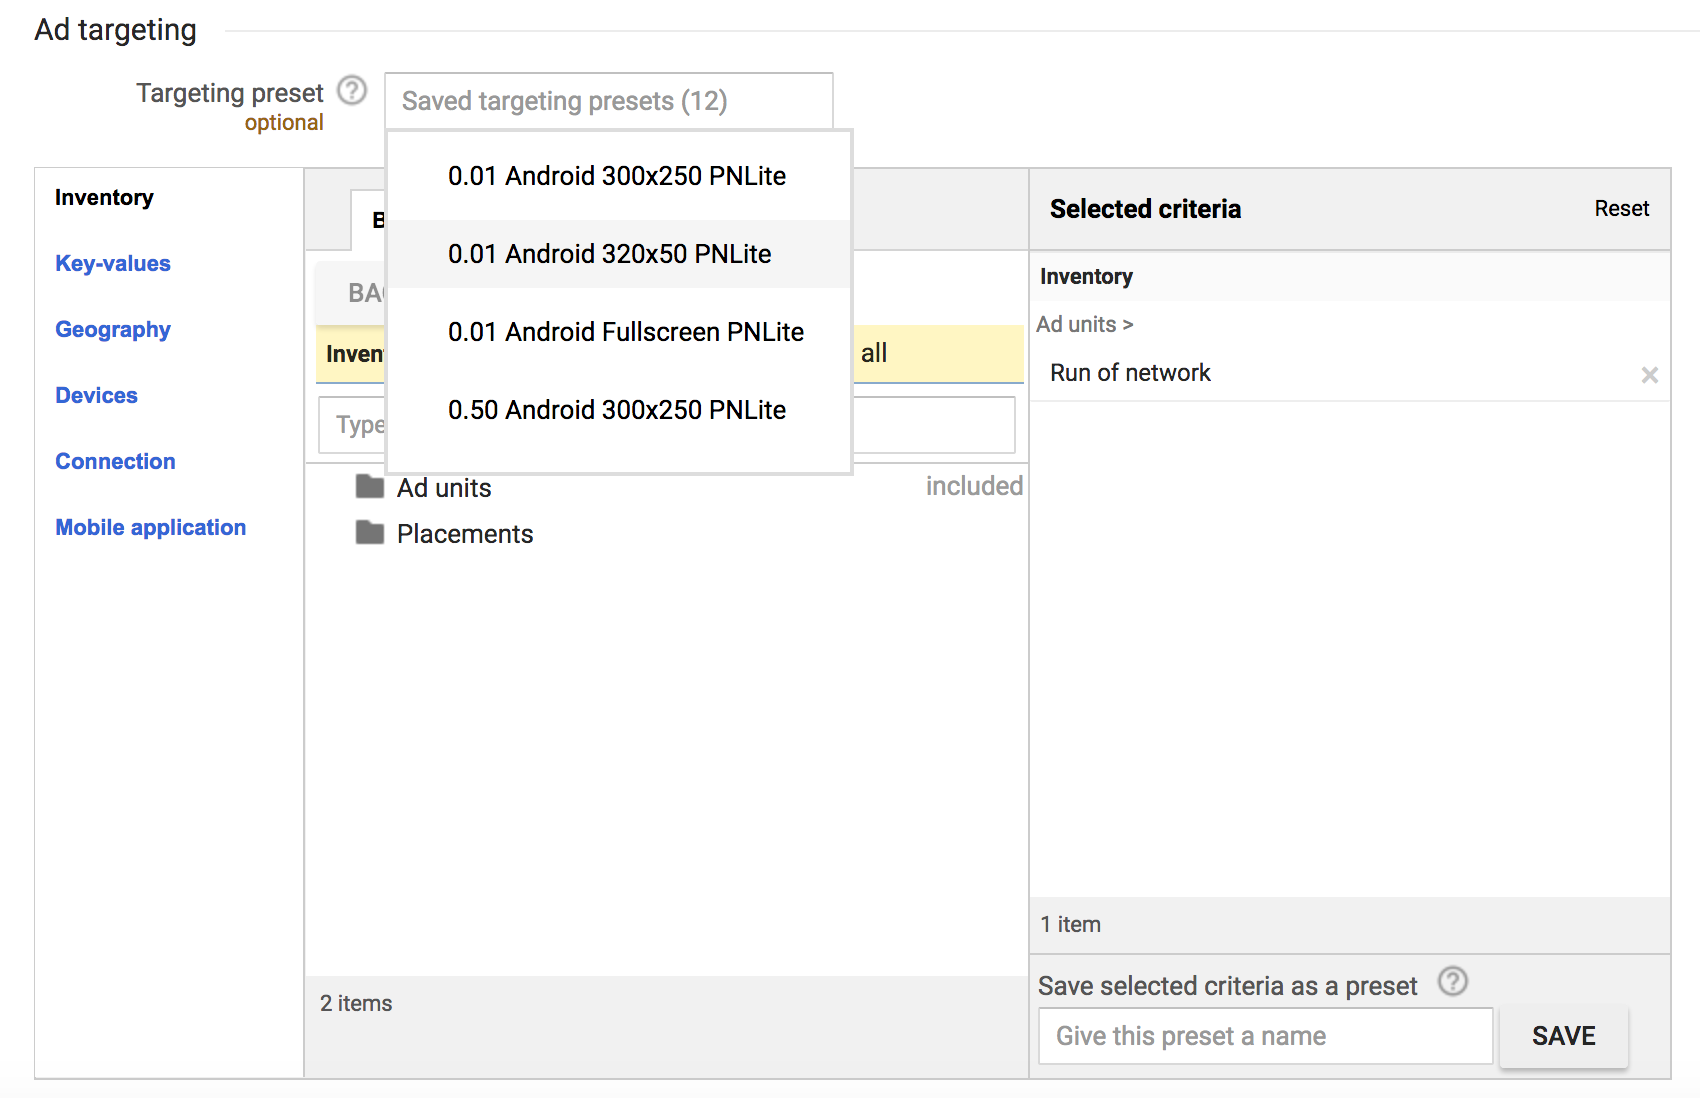
On the Ad targeting section, start by choosing the Targeting preset that matches with the line item you are setting up. There were created in earlier steps. In this sample we choose the 0.01 Android 320x50 PNLite one since it matches the line item and the eCPM we are setting.
After choosing the Targeting preset, the values will be automatically added to the targeting criteria section.
As a last step, go to the Mobile application section in the targeting setup box and choose the app or apps to which this line item will serve ads.
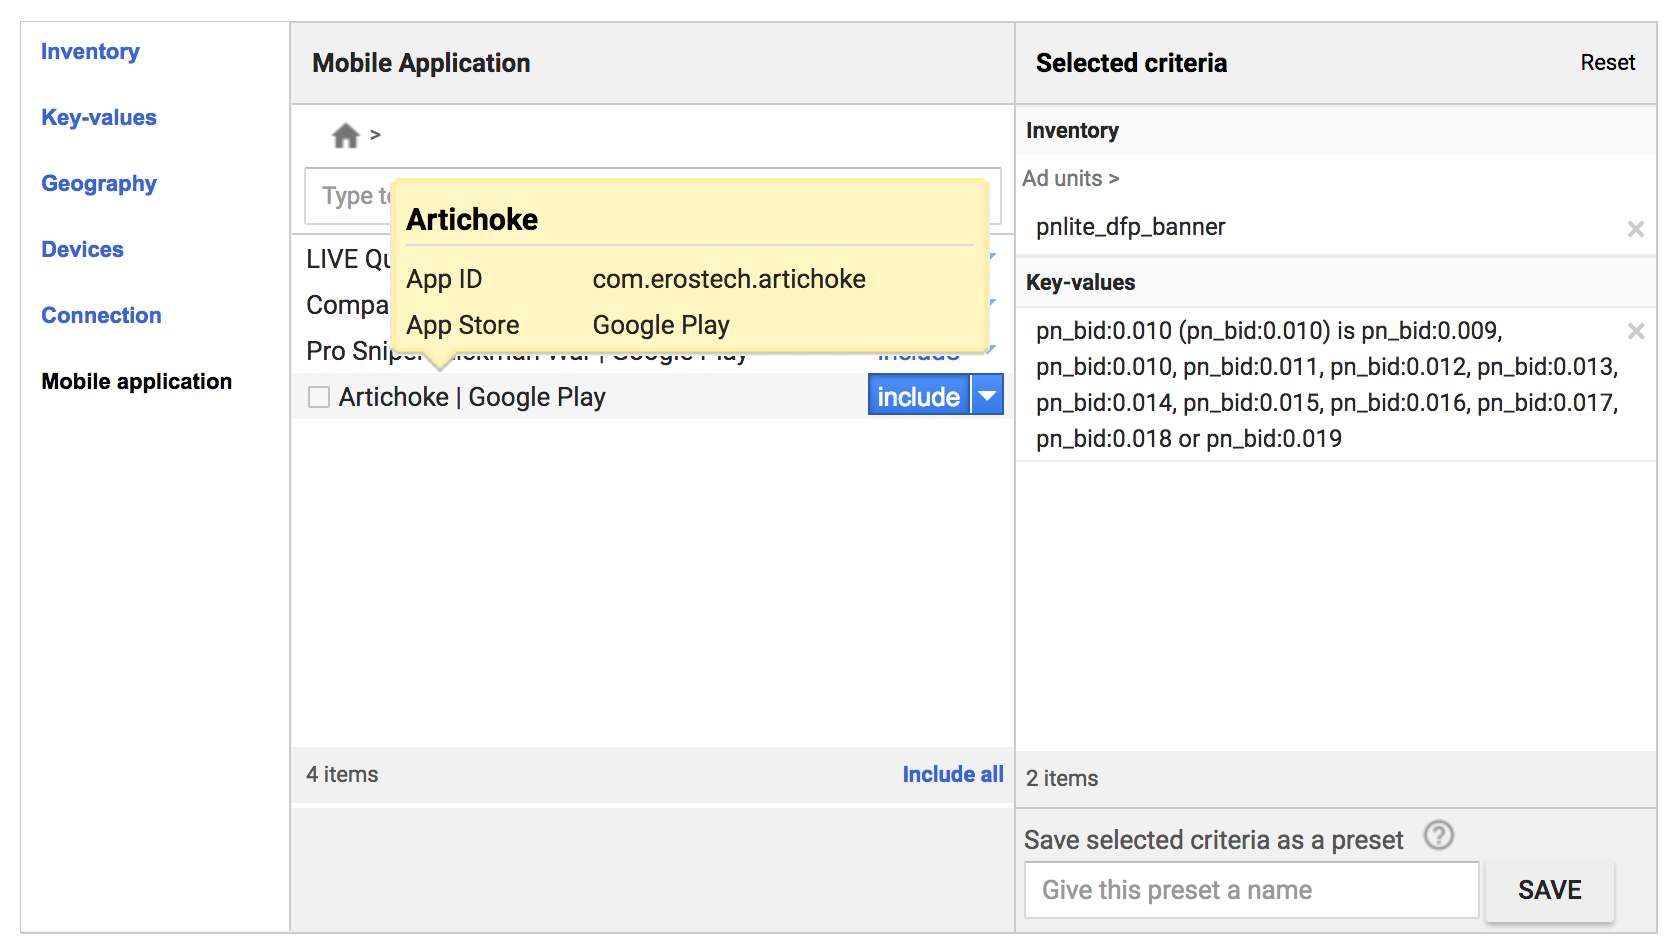
It is very important to remember that there must be a line item per ad size and eCPM pairs in the order. It is the only way to properly target the line items according to the eCPM obtained in the Pre bid.
Link creatives to Line Items
The last step to make the mediation work is to link the Creatives to the previously created Line items
In the Creatives section choose one of the ones created to serve ads through the HyBid Adapter
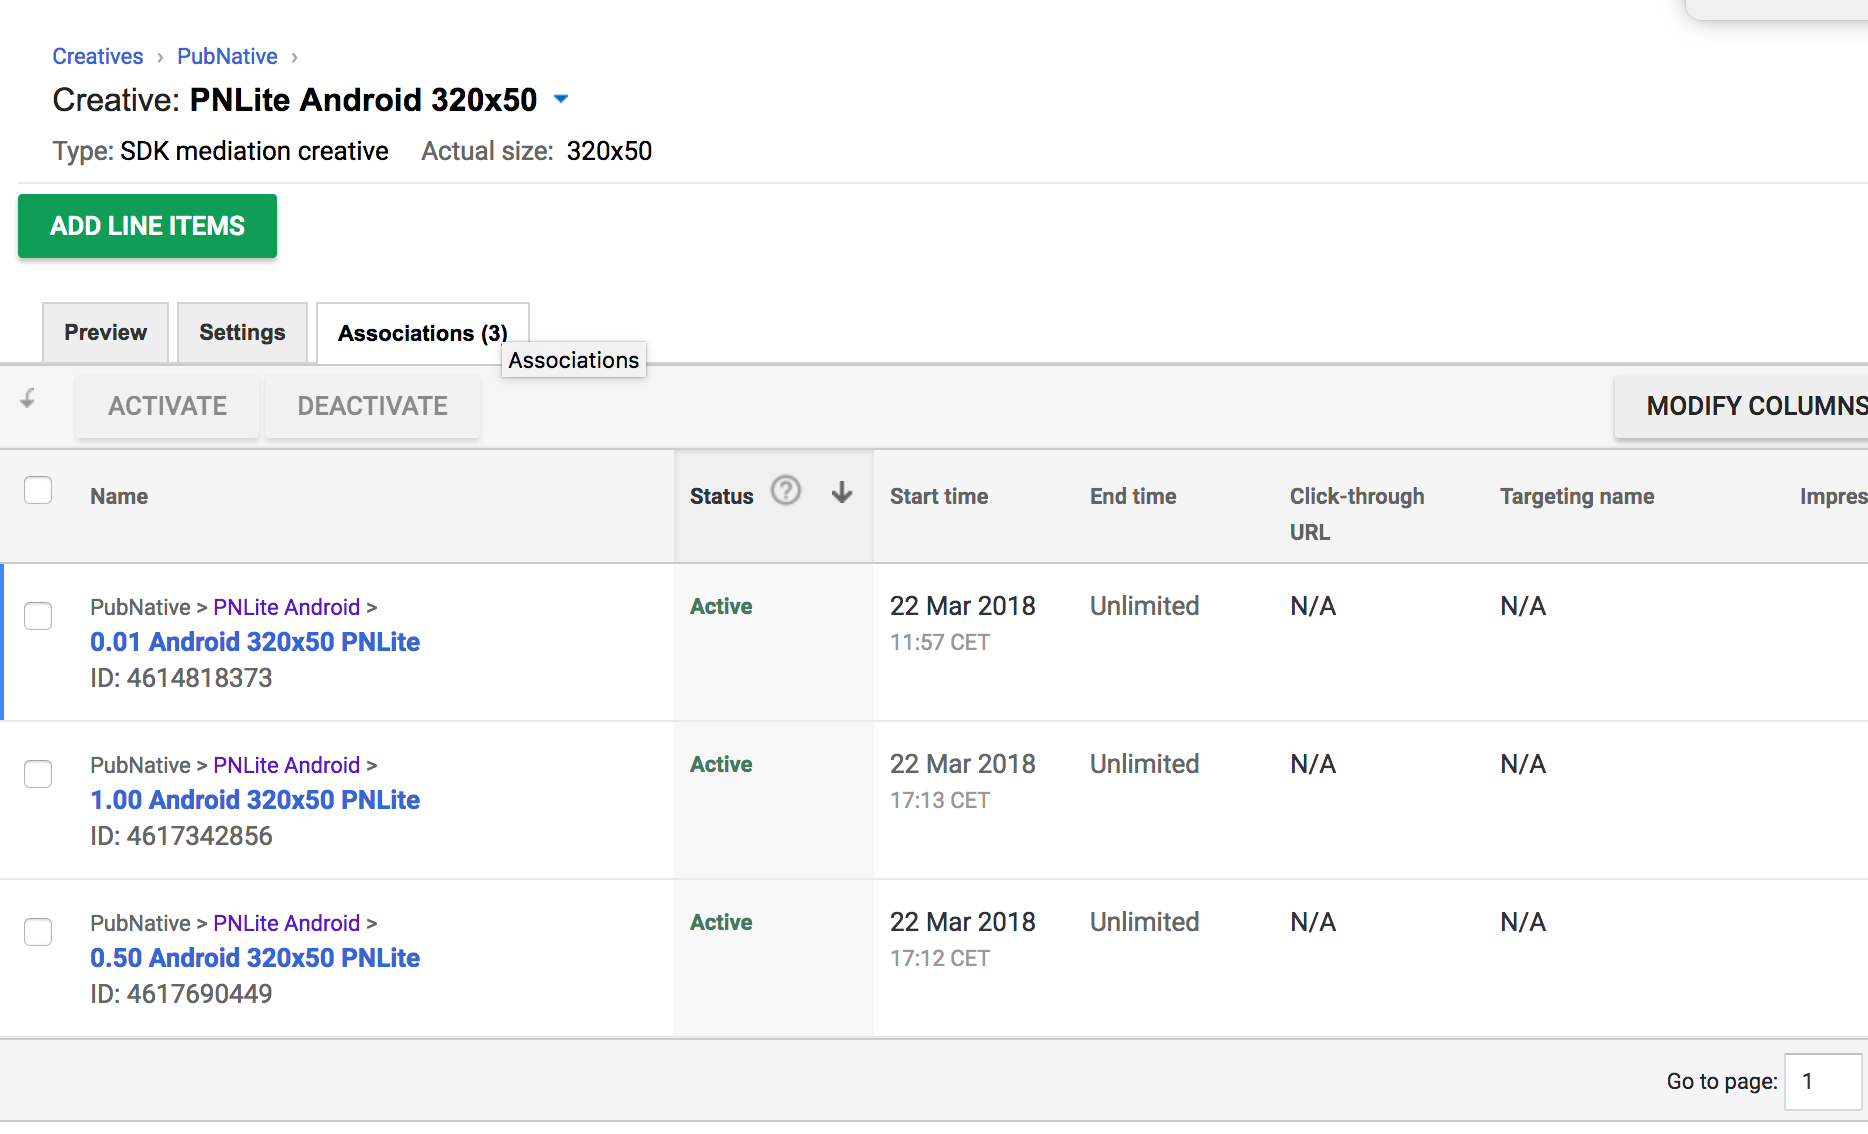
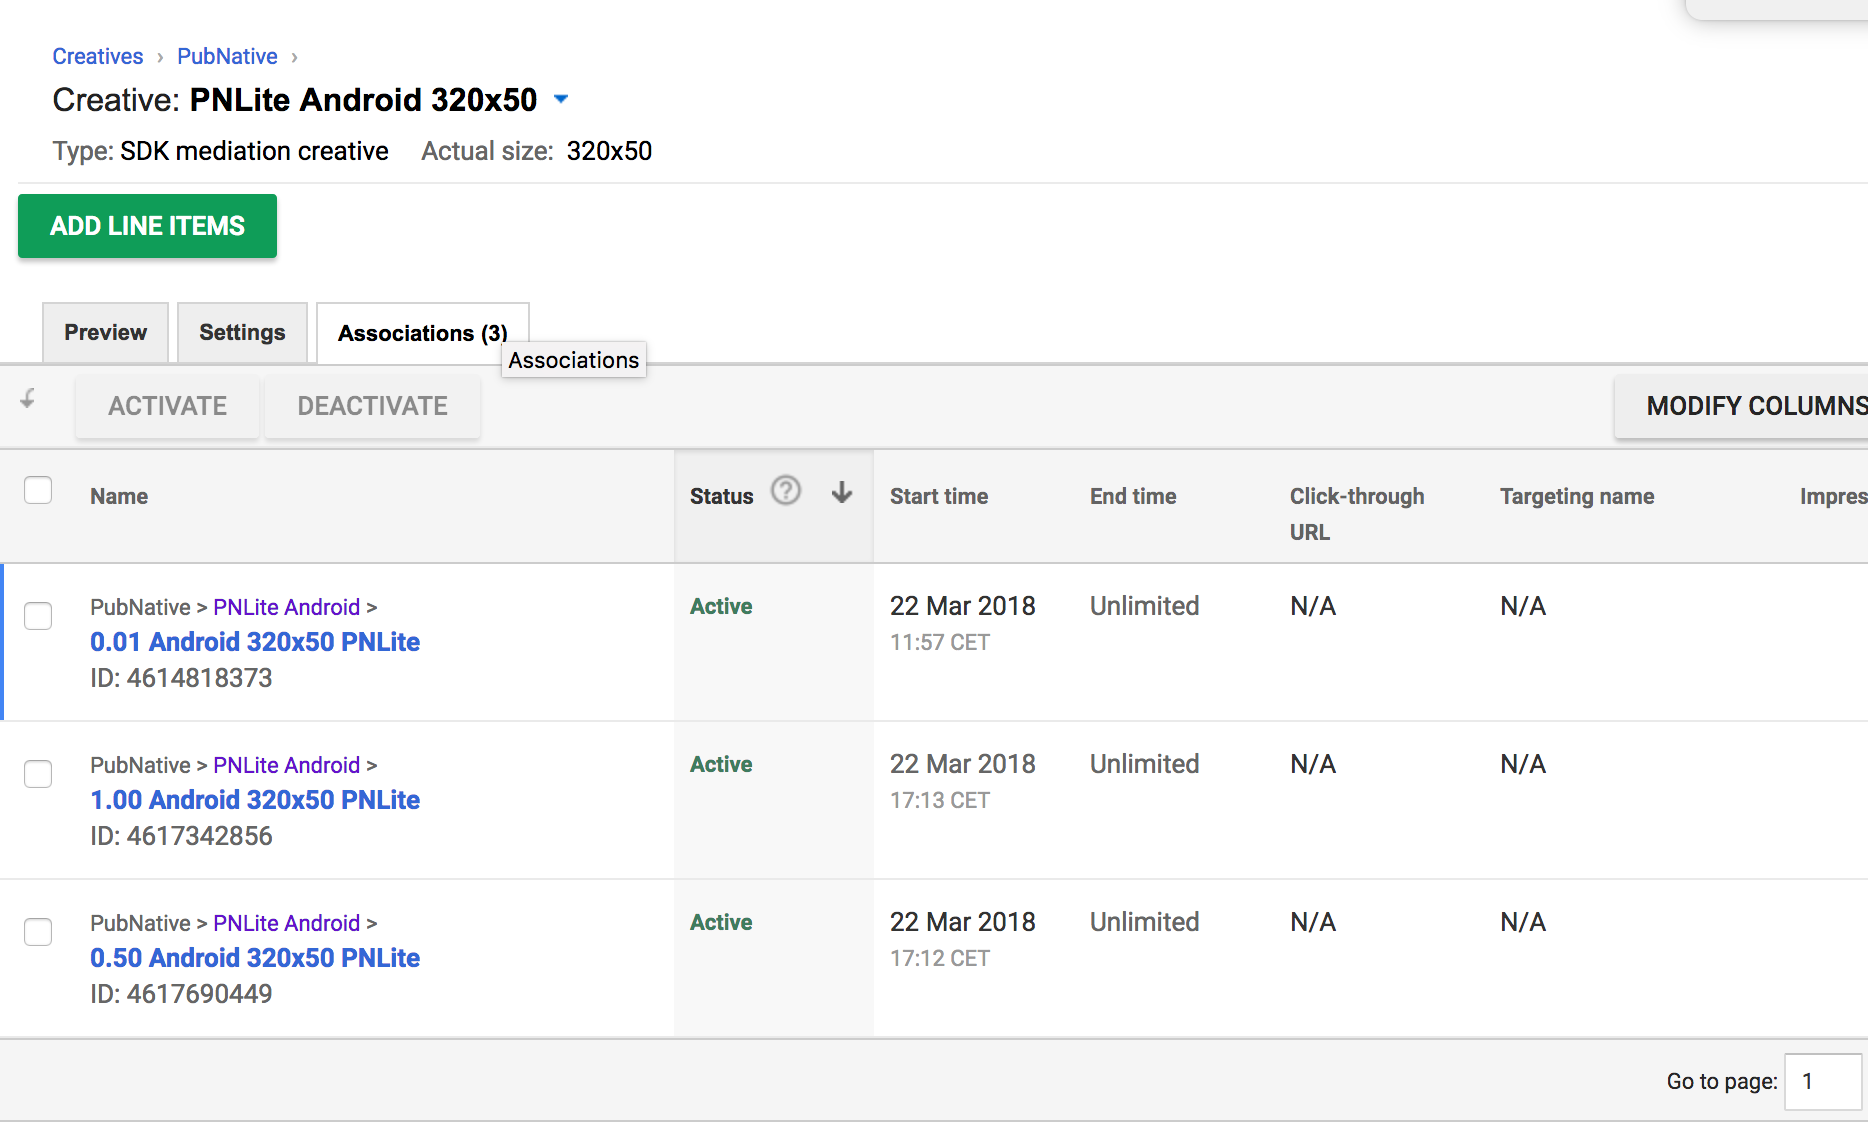
When the creative details open, head to the Associations tab. There you should click the Add line items button to start linking the items with the creative.
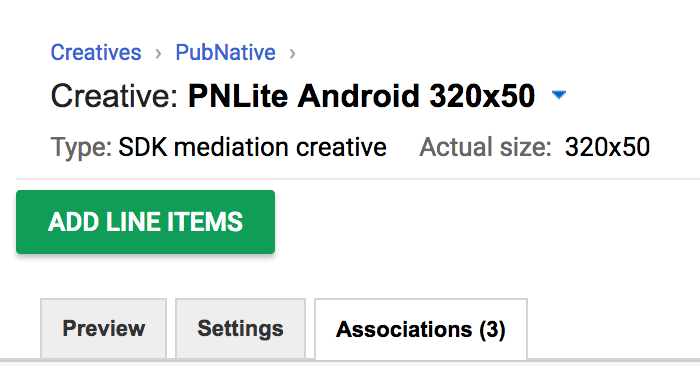
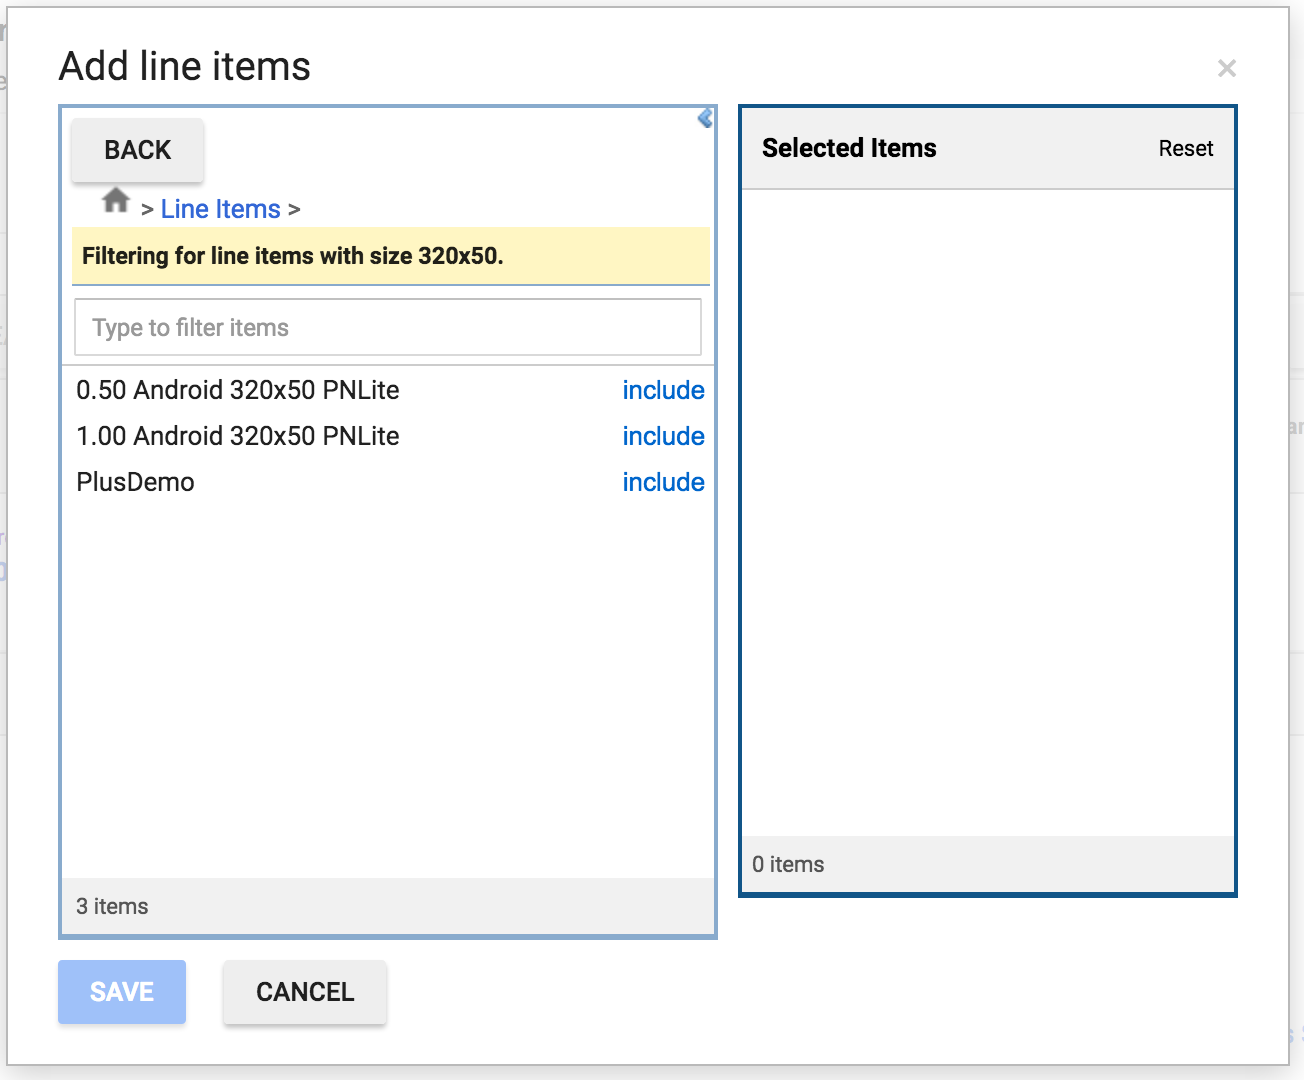
Choose the Line Items section to start adding associations
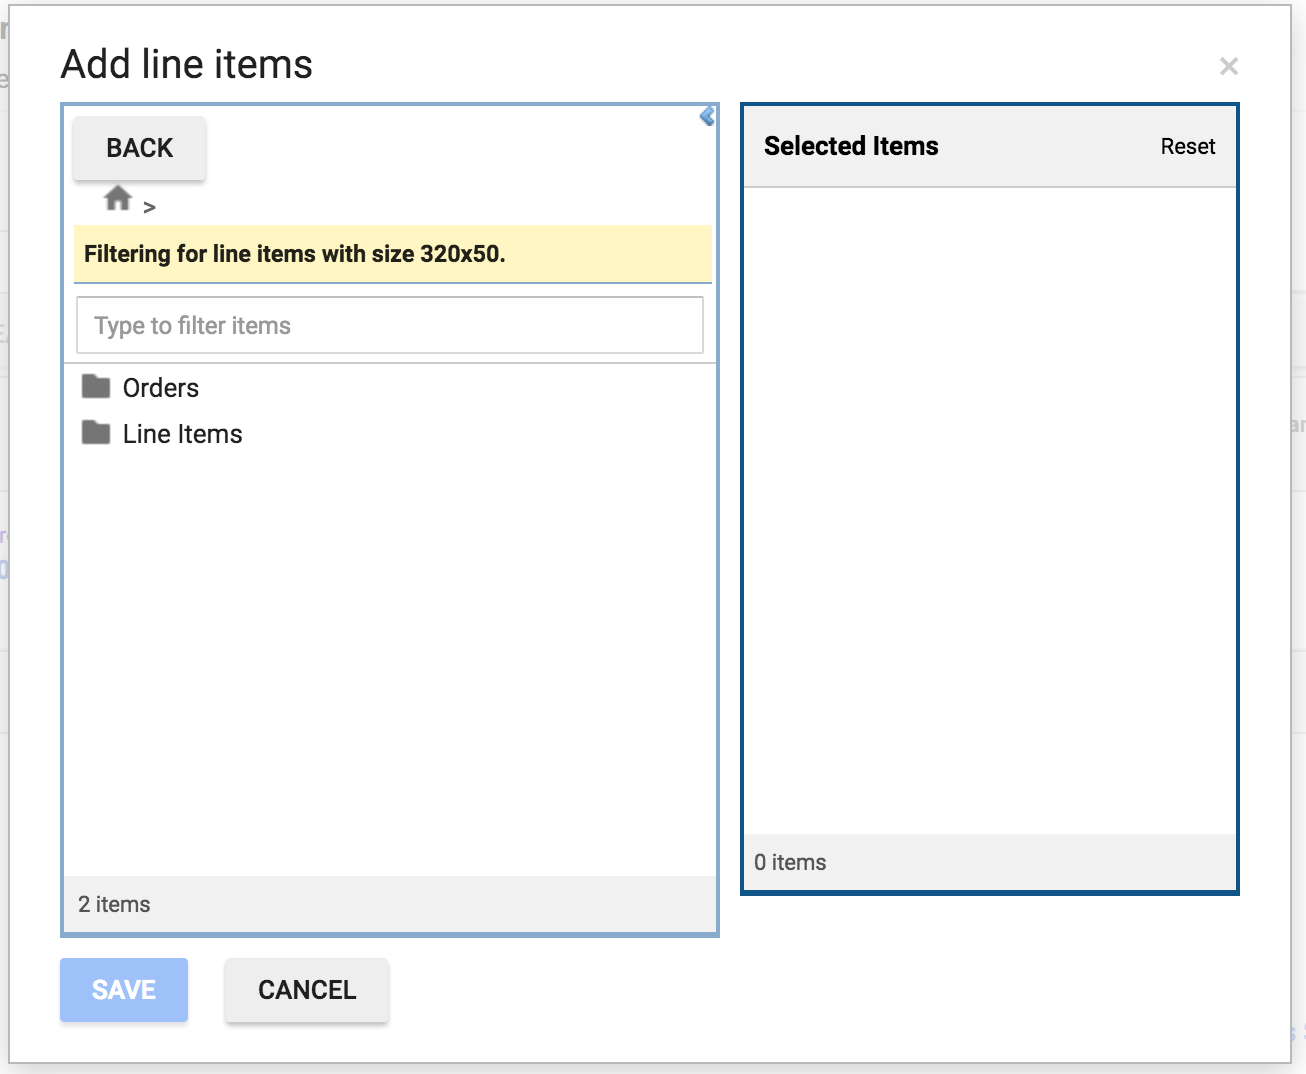
Only the line items that match the size of the creative will be displayed on the list. Include all the items you created in previous steps for this ad size.
After linking all the Line items, the Associations tab should look something like this.
Repeat this process for all creatives that will serve ads through the HyBid Adapter.
